
How To Use Web Camera For Home Surveillance?
When the idea of weaving a web camera into your home’s security system first comes to mind, you might picture a Hollywood-style setup—red laser grids, high-resolution close-ups on screen monitors, and maybe an intense soundtrack pulsing in the background. The reality, however, isn’t nearly as dramatic. In fact, it’s shockingly simple and, dare I say, quite practical. So, let’s break it down step by step: how do you turn a humble web camera into the sentry for your personal domain?
Step 1: Picking the Right Camera
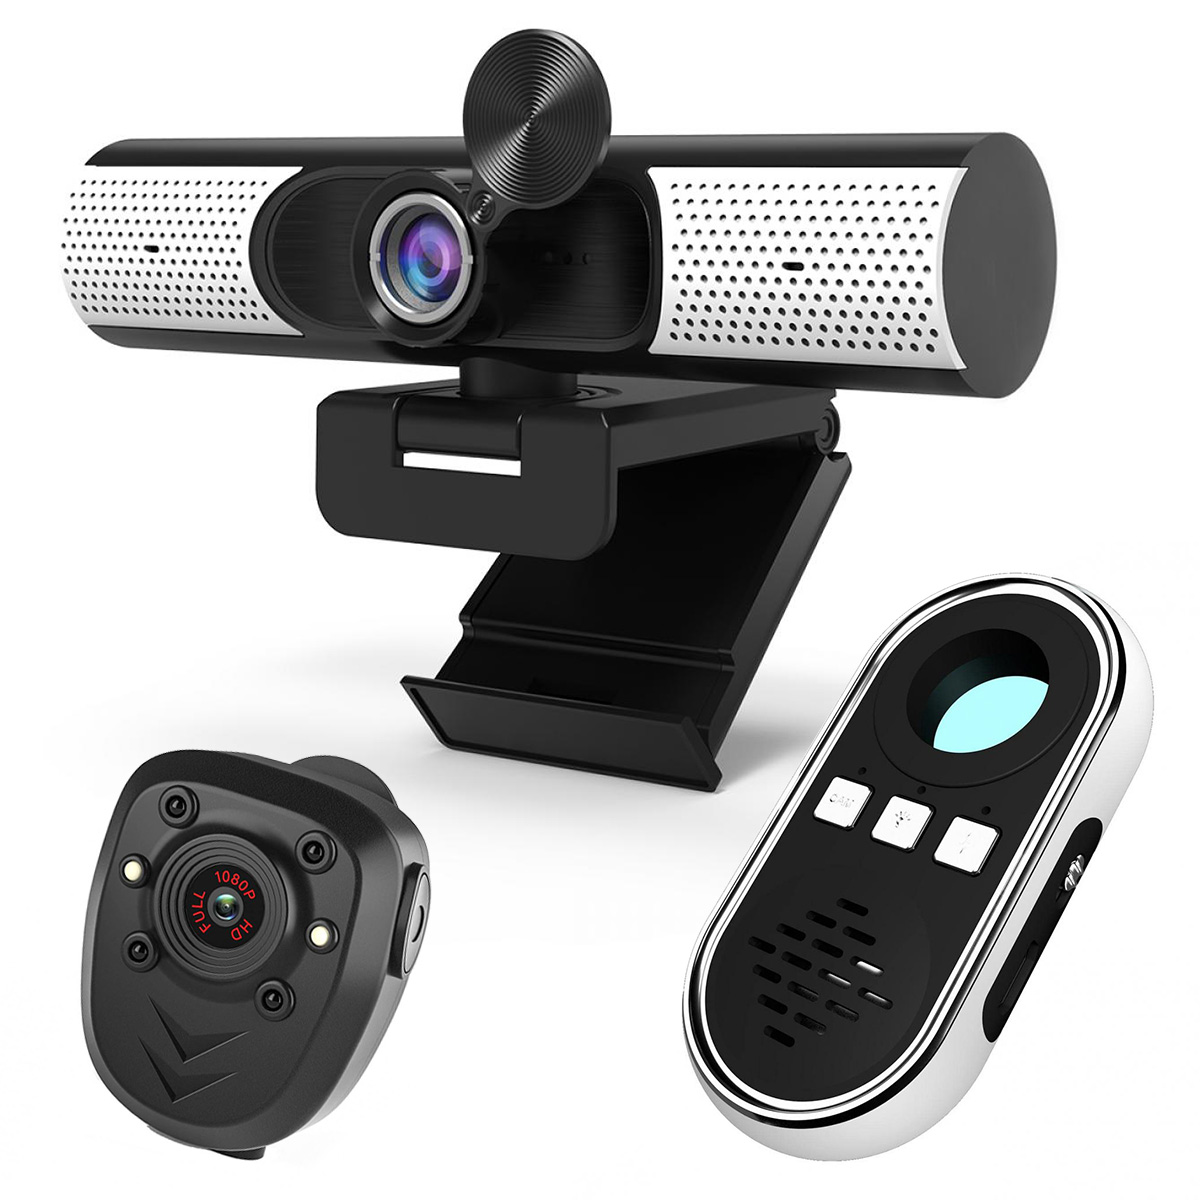
Before you dive into installation and configuration, the first question is crucial: what kind of web camera do you have? A solid choice should ideally be a model with 1080p resolution, wide-angle coverage, and night vision capabilities. Most modern webcams tick these boxes, but don’t just dust off that relic from 2008 sitting in a drawer; blurry footage won’t help you catch anything or anyone except your blurry recollection of last Tuesday’s dinner.
Looking for flexibility? Ensure the web camera also supports USB connectivity alongside other options like Wi-Fi for remote access. Motion detection is another welcome feature in this type of setup—you’ll need fewer snacks to fuel your vigil if your camera does half the work by being triggered only when necessary.
Step 2: Software is King
Your web camera’s utility as a surveillance tool hinges on the software that breathes life into it. Programs like ManyCam, iSpy, or Yawcam are fan favorites in this sphere, and don’t demand an IT diploma for you to get started. These applications can transform your webcam from a friendly video chat companion into a tireless watchman—with features like motion-sensitive recording, scheduled monitoring, and real-time alerts.
Download the software based on your specific needs, install it, and run through the setup wizard. Most of these options will require you to designate the specific web camera feed you wish to use; if you’re that person who uses multiple cams, make sure you assign them specific purposes (living room cam vs. porch cam vs. "is the fridge robbing me again?" cam).
For open-source enthusiasts: iSpy offers versatility and compatibility with different devices and platforms, from Android phones to desktop PCs. And for those wanting simplicity, Yawcam’s interface is beginner-friendly—you can get up and running in under 20 minutes if you follow their clear instructions.
Step 3: Placement, Placement, Placement
Before throwing your web camera up on a shelf or duct-taping it to your wall in desperation, take a moment to strategize. Placement is more critical than you might think. For a typical room setup, angle the camera toward main entry points, windows, or other areas more prone to risks. Don't place it directly under glaring sunlight or next to your 5000-lumen desk lamp; webcams don’t function well when blinded.
For outdoor surveillance, consider durability. Ensure your web camera is sheltered from rain, wind, and rogue pigeons. Even the toughest hardware will bow under relentless exposure to the elements unless properly shielded.
Pro tip: If the web camera doesn't come equipped with wide-angle lenses, play around with mirrors to create wider coverage for your blind spots. You might feel awkward about pointing cameras at reflective glass, but trust me—it works in a pinch.
Step 4: Connectivity and Power Management
This is where things start to feel like a puzzle, with power cables and data connections branching out like arteries in some Frankenstein system. A USB-powered webcam is easy enough, but what do you do if your desired surveillance spot is halfway across the house? Invest in extension cables or a powered USB hub if needed. On the wireless side, make sure your camera supports proper encryption protocols to safeguard your feeds from unauthorized access.
And speaking of power, unless your webcam runs on batteries, it’ll need to be tethered to a steady supply. Some tech-savvy users even integrate webcams with smart plugs or timers to conserve energy while still ensuring they run during crucial hours (like at night or when no one’s home).
Step 5: Remote Monitoring and Notifications
Here’s where the surveillance system transforms into something really useful. With the right software, you can set up live-streaming feeds or mobile notifications while you’re away. Need to keep an eye on your pets or curious if a delivery arrived during lunch? These features bring that capability to your fingertips.
Most modern web camera surveillance systems support cloud storage, giving you access to old footage from anywhere. Just make an effort to protect your online presence; some cyber attackers might not care about the video of your cat sleeping on the couch, but why take the risk?
If remote monitoring is high on your wishlist, focus on devices compatible with mobile apps and browsers. Apps like Alfred Camera can turn older smartphones into motion-sensing surveillance systems, saving you from buying dedicated hardware for every room.
Step 6: Ethics and Boundaries
Before you gleefully record away, remember this: you’re dealing with an area where privacy matters. From family members to occasional guests, conversations regarding placement and intent go a long way toward establishing goodwill and rapport.
Cover sensitive areas like bedrooms and bathrooms with a hard NO on cameras. Even in public areas like living rooms, transparency about monitoring is crucial. You don’t want to end up in an awkward situation where someone feels their privacy violated after an innocent binge-watch session on your couch.
Step 7: Testing and Maintenance
Finally, don’t treat surveillance as “set it and forget it.” Test your web camera setup thoroughly before trusting it with full-time surveillance duty. Look out for connectivity issues, poor video quality, or power interruptions that might render the system useless. Regular software updates can help keep your camera defenses sharp.
Maintenance is another often-overlooked area. Dust off camera lenses every now and then—especially if they sit in high traffic or outdoor areas. Condensation, fingerprints, or debris can degrade your footage quality faster than you can say, “Who broke my vase?”
Hacks, Tricks, and Warnings
Now that you’re a home surveillance connoisseur, let’s discuss a few bonus moves and safety tips:
1. Go stealthy. If aesthetics matter, camouflage the webcam with surefire discretion. Faux potted plants, strategically placed bookshelves, or hidden installations are worth exploring.
2. Lighting matters. Pair cameras with motion-detecting lights to illuminate your footage only when it’s relevant. Plus, they can double as deterrents to potential intruders.
3. Watch out for legal waters. Surveillance laws vary significantly between regions. Always research what your local laws permit, especially regarding outdoor cameras or audio recording.
4. Beyond the basics. Integrate the webcam surveillance system with smart home platforms like Alexa or Google Home for a seamlessly connected experience. Want auto-light flair? Program your camera to signal smart lights whenever motion detection kicks in.
And there you have it, a crash course on turning your web camera into the vigilante protector your home likely never knew it needed! Who says you need state-of-the-art gadgets or an external consultant for security? You’ve just learned how to transform any ordinary webcam into a purpose-driven safeguard without breaking the bank or sweating bullets. Safe homes, creative tech, and perhaps a few moments of James Bond-level smugness await.


-200x200.jpg "4G Solar Security Camera with WiFi Connection 2-in-1, 2PCS Kentfaith Outdoor Surveillance Camera with IP66 Waterproof Rating & 10X Optical Zoom")
-200x200.jpg "4G Solar Security Camera with WiFi Connection 2-in-1, 3PCS Kentfaith Outdoor Surveillance Camera with IP66 Waterproof Rating & 10X Optical Zoom")


