
How To Fit Outdoor Security Camera?
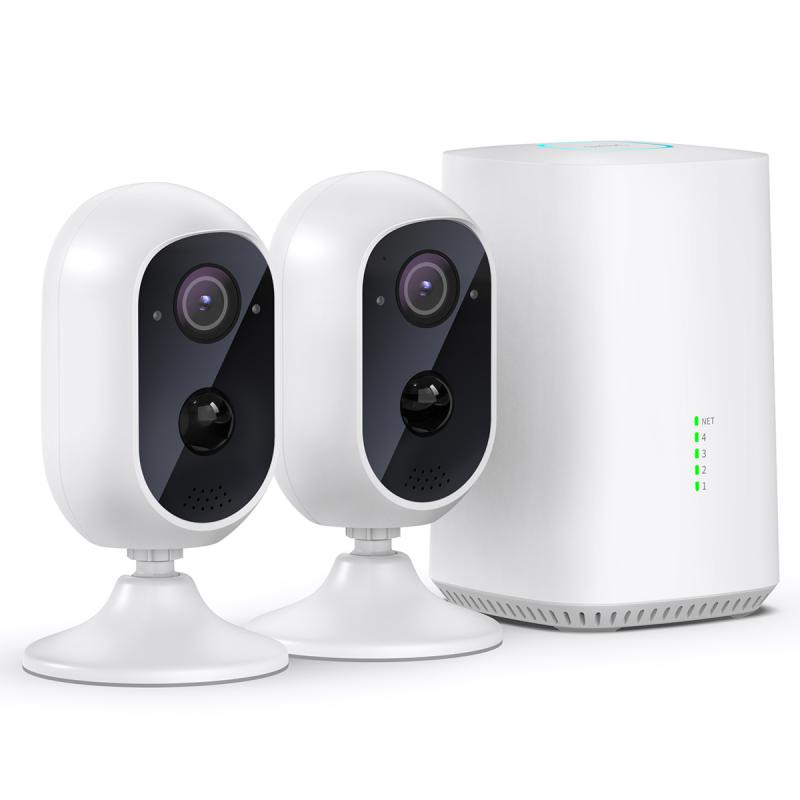
Outdoor security cameras are an essential part of modern home security systems, providing you with peace of mind and ensuring that your property is safe from potential intrusions or thefts. Installing one isn’t as intimidating as it might sound. With the right tools, a clear plan, and some basic technological know-how, you can have your security camera up and running in no time. Let’s walk through the steps needed to fit an outdoor security camera effectively. This guide will cover planning, installation, and troubleshooting, with nuggets of useful tips sprinkled along the way.
Plan Before You Drill
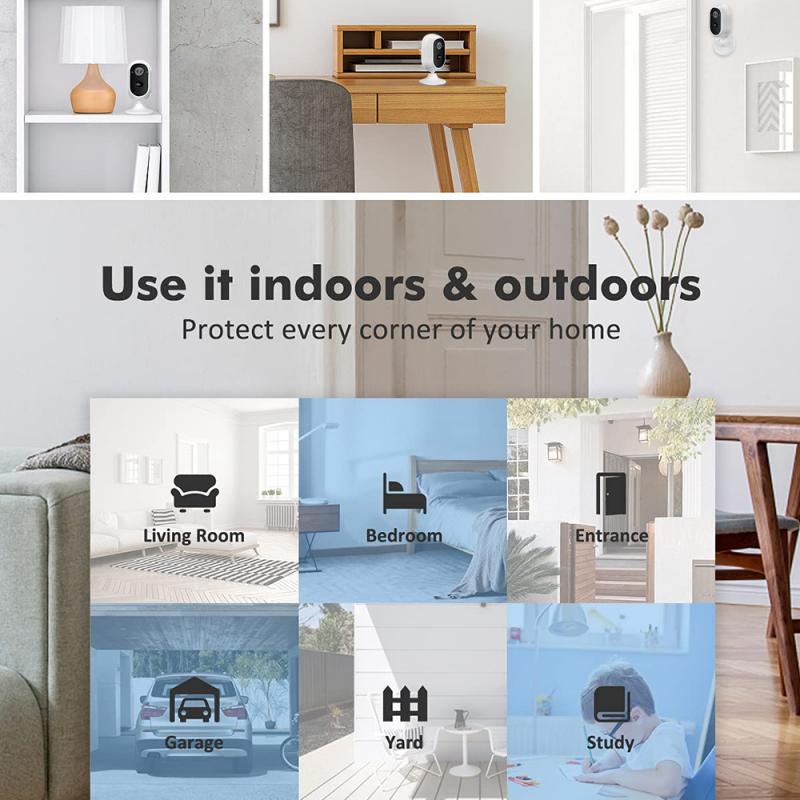
Before we jump straight into installation, take a step back and consider a few key factors. Choosing the right location is arguably half the battle. You want your camera to maximize coverage while minimizing blind spots. Take potential threats into account: the entry points to your house (like doors, windows, and gates) are ideal locations.
Now, let’s talk about visibility without vulnerability. You don’t want the camera sitting in plain sight where it can be tampered with. Opt for a spot high up or at least partially concealed but still capable of recording clear footage. Also, consider weather exposure: while outdoor cameras are built to endure harsh conditions, you can improve their lifespan by placing them under eaves or other structures for added protection.
Once you have the location nailed down, it’s time to assess power needs. Some cameras are wired and need a nearby outlet or connection to your home electrical system. Others are wireless and run on batteries, which adds flexibility but requires periodic maintenance (charging or replacing batteries). If you have a solar-powered option, pat yourself on the back—you just eliminated one of the most annoying security camera chores.
Finally, think about connectivity. Wired cameras tend to use an Ethernet cable or direct connection to your home Wi-Fi router. Wireless cameras operate over Wi-Fi, so ensure you’ve got a strong signal at the installation location to avoid endless buffering or sudden disconnections. A Wi-Fi extender might be your best friend here.
Tools of the Trade
Before getting your hands dirty, make sure you’ve equipped yourself properly. Here’s the basic arsenal:
1. Screwdriver/Drill: You’ll need these for mounting the camera and its baseplate.
2. Ladder: Unless you’ve got superhero-level jumping abilities, a ladder will be essential for safer installation.
3. Stud Finder (in case you’re mounting on walls): For stability, it’s best to drill into a sturdy surface.
4. Leveling Tool: This ensures your camera isn’t tilted, which could compromise coverage.
5. Cable Clips (if it’s wired): These help tidy up cables so they don’t dangle everywhere, causing an eyesore or a tripping hazard.
6. Safety Gear: Gloves and goggles for safe drilling, especially if the area is dusty or exposed to potential debris.
Installation: A Step-by-Step Breakdown
1. Set Up Your Camera Beforehand:
Unbox, assemble, and configure your camera indoors before bringing it out. Check the manual (yes, reading it is mandatory) for specifics on charging and initial setup. Some cameras require linking to an app or account before they begin functioning. Do it now—trust me, trying to troubleshoot account settings while dangling from a ladder is nobody’s idea of a fun afternoon.
2. Mark the Spot:
Position your camera (or its mounting baseplate if the camera snaps onto it) on the wall, ceiling, or another surface. Use a pencil to mark the areas where you plan to screw it in. For best results, angle it slightly downward if you’re capturing walkways or entry areas.
3. Drill Away:
Using your drill or screwdriver, follow the markings to create anchor holes. If you’re mounting on brick, concrete, or stucco, you’ll need masonry screws to ensure stability. For walls or wood, basic screws and anchors will suffice.
4. Secure the Mount:
Once the holes are ready, attach the mounting base or bracket tightly using screws. Test its sturdiness before attaching the camera—the last thing you want is a wobbly mount causing blurry footage.
5. Attach the Camera:
Most outdoor cameras clip, bolt, or snap directly onto the mount. Wireless options usually require you to slide or lock them into place during installation, while wired cameras often involve fitting the cables into the mount.
6. Position Perfectly:
Rotate the camera to face the desired direction and angle. Here’s a tip: aim the camera slightly off-center rather than directly at the area of interest. Why? Intruders who spot directly-facing devices are more likely to cover their faces.
7. Power and Connect:
Wired cameras require plugging into a power source or connecting to your main security system. Wireless ones may need a battery or solar panel connection. Once powered, link the device to your phone or computer for real-time monitoring via the manufacturer’s app or software.
Optimize for Performance
Congratulations, your camera is set up. But wait—did you stop to confirm it’s giving you the surveillance results you’re seeking? Here are some pro tips to get the most out of your camera:
1. Motion Detection Calibration:
Modern cameras are equipped with motion sensors, but you don’t want them triggering alerts every time a leaf blows by. Use the app to adjust sensitivity so it captures meaningful movement while ignoring harmless environmental changes.
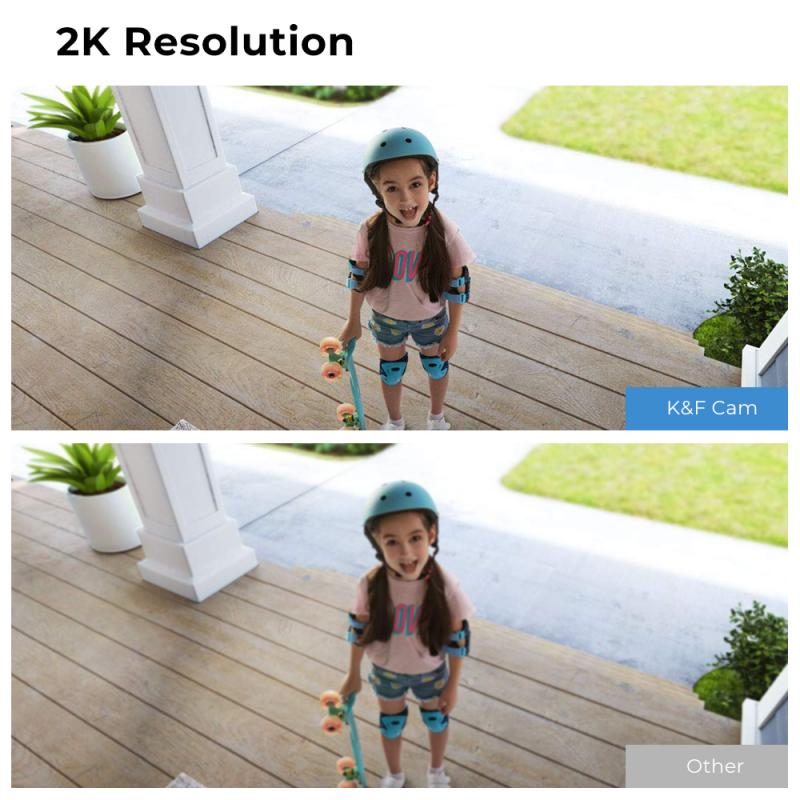
2. Night Vision Settings:
Test your camera’s infrared or low-light mode by viewing footage captured during nighttime. If the results are grainy or overly dark, you may need to adjust the angle or add external lighting like floodlights.
3. Update Firmware:
Please don’t skip this step. Outdated software can leave your camera vulnerable to cyber threats or performance glitches. Regular updates ensure smooth operation and heightened security.
4. Test Coverage:
Walk around within the camera’s field of view and monitor whether the footage picks up your movements clearly. Adjust perspective if necessary until it records the right zones.
5. Secure Your Data:
If your camera stores footage to the cloud, use strong passwords and enable two-factor authentication. Trust me, the last thing you want is some hacker snooping on your backyard BBQ via your security camera feed.
Common Troubleshooting
1. Weak Wi-Fi:
If your wireless camera frequently disconnects, invest in a Wi-Fi extender or reposition your router closer to the camera. Alternatively, consider Ethernet over powerline adapters for wired connectivity.
2. Foggy Lenses:
Outdoor cameras often deal with fog, rain splatter, or dirt accumulating—you invested all this effort, don’t let it go to waste with blurry video. Clean the lens periodically with a microfiber cloth or an optic-safe cleaner.
3. Battery Drain:
If your battery-powered camera is dying too quickly, switch its settings to record only when motion is detected (instead of 24/7 recording). Check the app for power-saving modes.
When you’ve successfully installed your outdoor security camera, you’ll not only enjoy that satisfying sense of accomplishment, but you’re also contributing to making your personal space safer. Remember: like any good investment, security systems require occasional upkeep to ensure their long-term efficacy. Now go forth with your newfound tech wizardry and upgrade your home’s defenses like a pro.


