
How To Get Pictures From Digital Camera?
Digital cameras are a great way to capture high-quality images, whether for personal use, professional work, or creative expression. However, once you’ve taken pictures, the next step is transferring them from your camera to a computer or other device for editing, sharing, or storage. This article will provide a comprehensive guide to retrieving pictures from a digital camera efficiently and effectively. Whether you’re an amateur photographer or a seasoned enthusiast, these tips will streamline the process and ensure your images are safely transferred.
Understanding the Basics
Before diving into the specific steps, it’s important to understand the components involved in picture transfer. Broadly, transferring images from a digital camera requires an interface to connect the camera to your device, such as a cable or memory card reader, along with compatible software or operating systems.
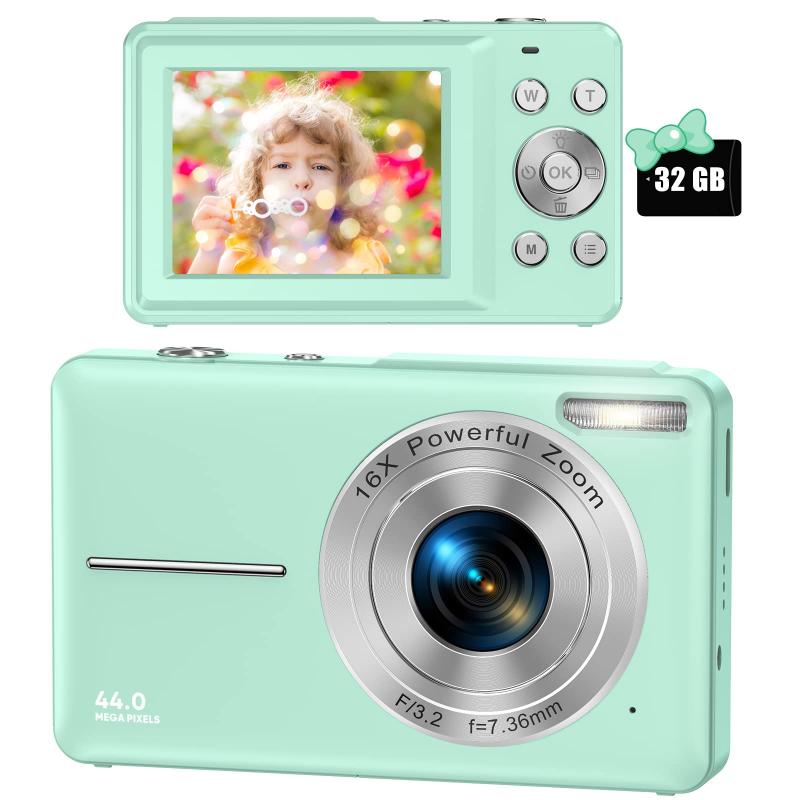
Digital cameras store images on a memory card, usually an SD card, CompactFlash card, or similar format depending on the camera model. The camera itself acts as the intermediary for accessing the files, though in many cases, you can remove the memory card for direct transfer.
Step-by-Step Guide to Get Pictures from Your Digital Camera

Method 1: Transferring Images via USB Cable
1. Locate the USB Cable: Most digital cameras come with a USB cable, often referred to as an interface or data transfer cable. Check the packaging or device manual to find the cable designed for your specific camera model.
2. Connect Your Camera: Plug one end of the USB cable into your camera and the other end into your computer’s USB port. Power on the camera.
3. Access Camera Mode: Many cameras require you to set them into "PC Mode" or "Transfer Mode" when connected to a computer. This mode allows the computer to recognize the device properly.
4. Open File Explorer or Finder: On Windows, open the File Explorer or use Finder on macOS to locate the connected camera. It will usually appear as a removable drive or external device.
5. Navigate to Photos: Access the camera’s folder, typically named “DCIM,” which stands for Digital Camera Images. Browse through the folder to find your photos.
6. Copy and Paste Files: Highlight the pictures you want to transfer, then drag them or copy and paste them into a folder on your computer.
7. Confirm and Eject: After transferring the images, safely eject the camera from your computer before disconnecting it.
Method 2: Using a Memory Card Reader

1. Remove the Memory Card: Turn off the camera and remove its memory card. Make sure you understand your camera’s proper way of ejecting or removing the SD card.
2. Insert into Card Reader: If your computer has a built-in memory card slot, insert the card directly. Alternatively, use an external memory card reader to connect it.
3. Access the Files: Once inserted, the memory card will appear as an external drive in your file system. Open it and locate the “DCIM” folder.
4. Transfer Photos: Select, copy, and paste the files into the destination folder of your choice on your computer.
Method 3: Wireless Transfer (Wi-Fi or Bluetooth)
Some modern digital cameras support wireless photo transfer, an increasingly popular feature for convenience. If yours does, follow these steps:
1. Enable Wireless Connectivity: Open your camera settings and turn on Wi-Fi or Bluetooth. You may need to consult the camera manual for specific instructions.
2. Connect to Your Device: Use your computer or smartphone to locate the camera’s wireless network in the Wi-Fi settings menu or pair it via Bluetooth. If prompted, enter the password provided by the camera or confirm the pairing request.
3. Download the Companion App: Many cameras require a companion app, such as Nikon SnapBridge or Canon Camera Connect, to establish a wireless connection. Download and install the appropriate app on your device.
4. Transfer Photos: Launch the app and follow its interface to browse, select, and download the images you want.
Method 4: Automatic Cloud Sync
Some advanced cameras offer cloud sync functionality, which automatically uploads your photos to online storage.
1. Sign into Cloud Service: Use your camera’s interface to log into the associated cloud service (e.g., Google Photos, Dropbox, or proprietary brands like Sony Imaging Edge).
2. Enable Auto-Upload: Turn on the auto-upload feature within the camera’s settings. Ensure you have a strong Wi-Fi connection.
3. Access Files from Any Device: Once uploaded, you can access the photos directly from the cloud on any device with an internet connection.
Troubleshooting Common Issues
Even with clear instructions, you may encounter issues when transferring pictures from your digital camera. Here are common problems and solutions:
1. Camera Not Recognized:
- Ensure the USB cable is properly connected and functioning.
- Check if your camera requires special drivers; download them from the manufacturer’s website.
2. Memory Card Not Accessible:
- Format the card using your camera before first use to ensure compatibility.
- If the card becomes corrupt, consider recovery software to retrieve fragmented files.
3. Wireless Transfer Fails:
- Restart your camera and device, and reconnect.
- Update the companion app or firmware for compatibility fixes.
4. Slow Transfer Speeds:
- Use high-speed memory cards if your camera supports them, as cheaper variants may bottleneck transfer rates.
- Check if your USB ports are USB 3.0 or higher for faster connection.
Best Practices for Efficient Picture Transfers
1. Organize Your Files: Create meaningful folder names on your computer when transferring files. Sorting images by date or event makes them easier to manage later.
2. Backup Your Photos: After transferring pictures, back them up in an external hard drive or cloud storage. This reduces the risk of losing valuable memories.
3. Use Photo Management Software: Applications like Adobe Lightroom, Google Photos, or Apple Photos can streamline organizing, editing, and sharing.
4. Ensure Compatibility: If you’re transferring to smartphones or tablets, check compatibility between the storage formats and apps available.
5. Protect Your Equipment: Avoid directly handling the memory card or camera ports too often, as this could damage the hardware. Invest in high-quality cables and card readers.
Getting pictures off a digital camera is a straightforward process once you know the available methods. Whether you prefer the simplicity of USB transfers, the flexibility of a memory card reader, or the convenience of wireless and cloud-based options, each method offers unique advantages. By following the outlined steps, you can confidently retrieve your images and use them for storage, editing, or sharing. Keep your devices updated, back up your files regularly, and maintain photo organization to make the most of your photography workflow. With these practices in place, your digital images will always be accessible and secure.
 Sensor Cleaning Swab*10, M43 Sensor Cleaning Swab for All Models of M4/3 Camera Sensors, Including M4/3 Cameras from Olympus and Panasonic")


![4K Digital Camera for Photography & Video [Autofocus and Stabilisation] 48MP 16X Digital Zoom 3” 180° Flip Screen Vlog Camera with 32G SD Card, Flash Kentfaith](https://img.kentfaith.de/cache/catalog/products/de/GW41.0065/GW41.0065-1-200x200.jpg "4K Digital Camera for Photography & Video [Autofocus and Stabilisation] 48MP 16X Digital Zoom 3” 180° Flip Screen Vlog Camera with 32G SD Card, Flash Kentfaith")


")
")


 Lens to Nikon Z Series Mount Camera High Precision Lens Adapter, QBM-NIK Z")


 Suitable for UAV/car model/Ship Model Battery")
")


