
 ND Lens Filter Adjustable Neutral Density Filter with 18 Multi-Layer Coatings for Camera Lens Nano-Klear Series")
How To Use Filters On A Dslr Camera?
Filters! No, I don’t mean the kind you slap on vacation photos before gracing Instagram with your coffee art. We’re talking about bona fide camera filters here—those physical (and occasionally magical) discs that sit on your DSLR lenses to manipulate light in fascinating ways. If you’ve ever wondered how professional photographers capture rich sunsets without the glare of a nuclear explosion or coax out silky-smooth water from an ordinary creek, chances are filters were at play. Let’s dive deep into the world of DSLR filters—what they do, why they matter, and exactly how to use them to elevate your photography game from “meh” to masterful.
Types of Filters: What Are We Even Working With?
First things first, not all filters are created equal. Camera filters come in a handful of varieties, each with its own unique purpose. Here's the lineup:
1. UV Filters (Ultra Violet): Basically the “screen protector” of the lens world. These transparent filters guard your precious glass against scratches and accidental smudges. While some photographers claim UV filters reduce light haze caused by UV rays, today’s modern DSLR lenses already handle this pretty well. Verdict? These are less for optics, more for durability.
2. Polarizing Filters: The MVP of landscape photography. Polarizers cut glare and reflections while boosting the vibrancy of colors—making skies bluer, foliage greener, and water clearer. Ever notice how professional beach photos look like tropical nirvana? Thank polarizing filters.
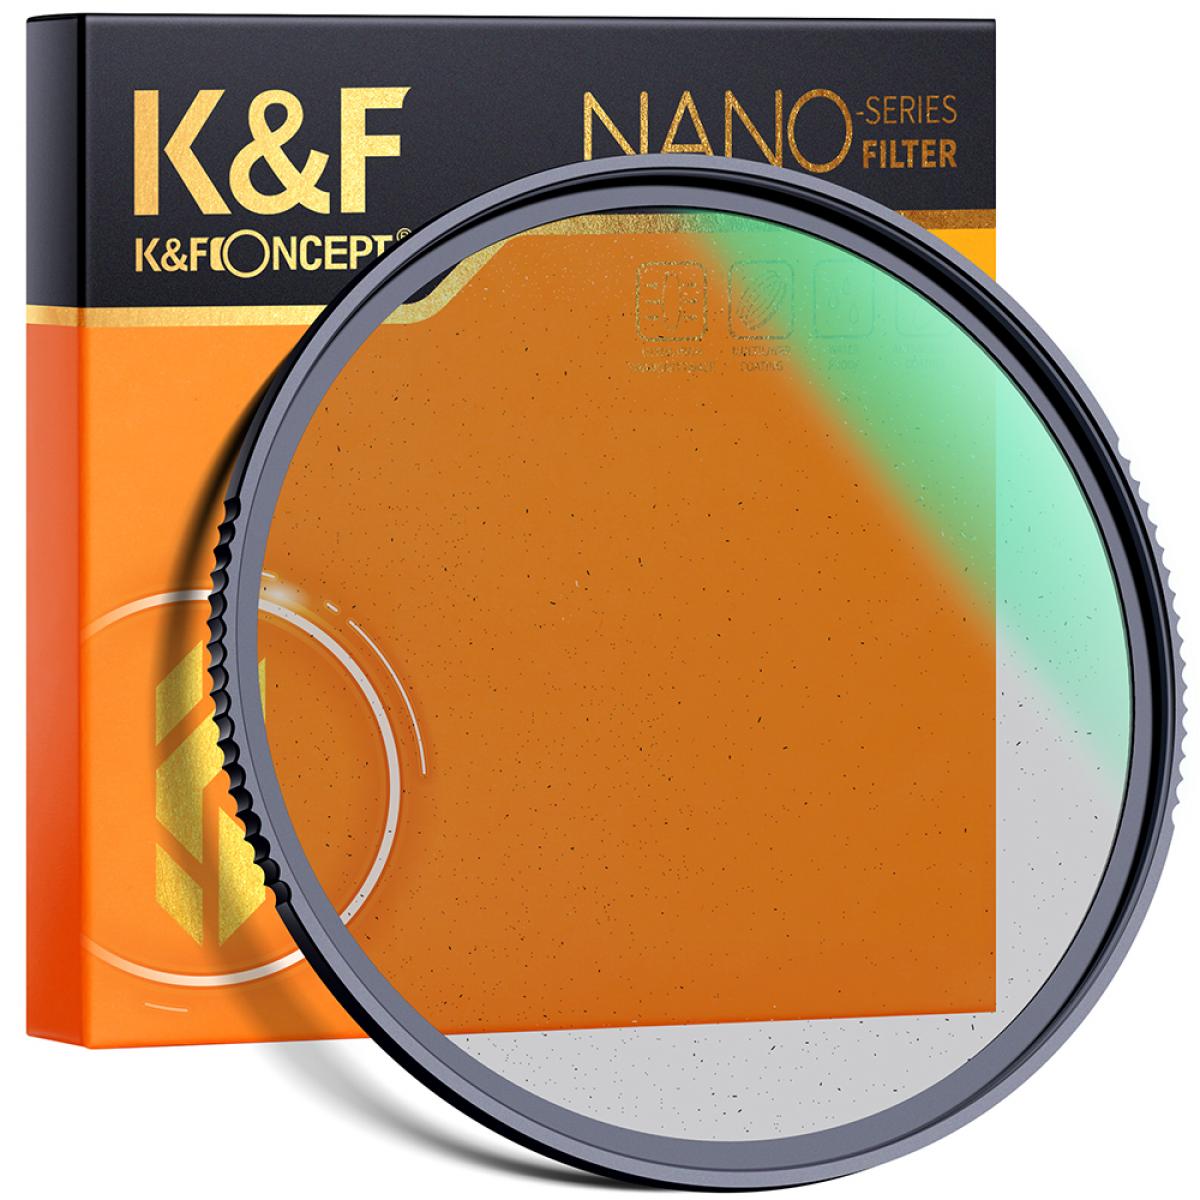
3. ND Filters (Neutral Density): These dark-horse heroes reduce incoming light without altering color, enabling you to shoot with slower shutter speeds or wider apertures in broad daylight. Ideal for long exposure shots—think smooth waterfalls or motion-blurred cityscapes.
4. Graduated ND Filters: Similar to ND filters but with a gradient for selectively darkening parts of the frame. Perfect for even exposure in high-contrast scenes like sunsets.
5. Color Correction Filters: These are more specialized, helping balance colors under tricky lighting situations. Think blue casts in incandescent lighting or green hues in fluorescent settings.
6. Special Effect Filters: From starbursts to soft-focus styles, these whimsical filters are all about creative flair.
Understanding which filter to use kicks things off. Now, let’s talk about how.
Step-by-Step: Taking Filters from Box to Brilliance
1. Threading It On
The first rule of filters? Attach them correctly. If you’ve never handled one before, you’ll notice threading on the edge—that’s how the filter screws onto your lens. Typically, DSLR lenses come with a filter thread size engraved somewhere along the rim. You’ll need a filter that matches this size (e.g., 52mm, 77mm).
To connect:
- Hold the filter perpendicular to the front of the lens.
- Gently begin threading it clockwise. Pro tip: Don’t rush. Cross-threading could damage both the filter or the lens. No bueno.
Alternatively, if you’re dealing with rectangular filters mounted onto a filter holder, slide them into the holder’s slot and secure snugly.
2. Align Properly (For Graduated or Polarizing Filters)
Some filters require positioning finesse. For example:
Graduated ND filters: The darker part should align with the brightest spot in your frame (usually the sky). Rotate the filter until it clicks with your vision.
Polarizing filters: Once attached, it's time to adjust the filter’s orientation. Rotate the outer ring (yes, it spins!) while peering through your viewfinder or camera screen. Watch how reflections disappear from water or glass surfaces, or how sky tones deepen. When the scene looks perfect, stop turning.
3. Master Aperture, Shutter Speed, and ISO
Filters directly impact how much light enters your camera — meaning adjustments are often necessary to achieve proper exposure. Here's the golden triangle:
Aperture (f-stop): Filters like ND may require stopping down (increasing f-number to reduce light). On the flip side, widening your aperture adds dreamy bokeh.
Shutter speed: This is crucial with ND filters. For dramatic effects like blurry clouds or silky water, elongate your exposure time.
ISO: Compensate for any overly dark shots by cranking up ISO. Of course, keep it low for high-quality images—I trust you love crisp shots more than pixelated mush.
4. Experiment with Angles and Lighting
Filters are no magic wand. Their real power shines when combined with good compositional choices. For example:
Polarizers: Aim away from the sun at about a 90-degree angle to maximize vibrancy.
ND filters: Midday usually produces harsh, direct sunlight, often ideal for long exposure experiments.
5. Double Up Thoughtfully
Yes, you can stack filters, but beware of vignetting—a dark halo effect along the edges of your frame—and avoid layering more than two filters simultaneously, especially wide-angle lenses. If you’re seeing vignetting, work with editing software to crop out the edge artifacts later. Better yet, invest in thinner “slim” filters for minimal interference.
Common Filter Mistakes and How to Avoid Them
Mistake 1: Buying Cheap Filters
Photography gear can get pricey, but good filters are worth every penny. Bargain-bin options often compromise image quality (loss of sharpness, weird color casts). Quality over quantity, folks.
Mistake 2: Forgetting to Clean
Let’s play a game: name the one thing dirtier than your car windshield after a road trip. Surprise—it’s probably your filter. Dust and smudges wreak havoc on optical clarity, so invest in proper cleaning kits and microfiber cloths.
Mistake 3: Overusing Filters
While filters open creative avenues, don’t forget about minimalism. A filter slapped on every shot can quickly over-complicate things. Learn when filters are essential and when your natural lens nakedly suffices.
The Post-Production Secret Sauce
Remember, filters are tools—not miracles. They serve to capture a better shot upfront, but a lot of the magic happens afterward on your computer. Whether you’re editing with Adobe Lightroom or Photoshop, filters give you a fantastic starting point by enhancing raw material—and your editing artistry takes it the rest of the way.
Let’s Wrap It Up
Filters are like spices in the kitchen: used correctly, they transform the ordinary into sublime creations. Now that you know how to wield filters effectively, take your DSLR for a spin in rainforests, urban jungles, or the beach—we both know it deserves an adventure. The moments you previously found elusive, whether it’s that elusive reflection-free lake or perfectly stretched cloud, are now within arm’s reach. Go ahead, screw on that filter, and face light like the boss you are.


")


 HD Adjustable Neutral Density Filter with 28 Multi-Layer Coatings for Camera Lenses - Nano-X Series")


