
How To Stop Security Camera From Recording?
In the digital age, security cameras have become a ubiquitous feature of urban environments, businesses, and even homes. Whether for deterring theft, documenting incidents, or providing peace of mind, these surveillance systems are widely employed. However, there are situations where you might want—or need—to stop a security camera from recording. This could be due to privacy concerns, addressing a malfunctioning device, or simply seeking to reconfigure a current setup. If you've ever wondered how to achieve this without damaging the equipment, you’re in the right place.
Stopping a security camera from recording isn’t as straightforward as flipping an "off" switch, as designs often prioritize tamper resistance. Manufacturers account for scenarios such as unauthorized persons trying to disable cameras for nefarious reasons. Here, I’ll unpack several approaches, each suited to different levels of control you might have, device types, and access contexts.
The Direct Approach: Modify Recording Settings
If the camera is in your control or the property it protects belongs to you, the most sensible option is to stop recording through the appropriate device or software settings. Security cameras typically save footage via a digital video recorder (DVR), network recorder, cloud service, or internal storage. Here's how you can disable recording from the inside out:
1. Access the Camera’s System Settings: Most modern cameras have companion apps or web interfaces. Log in using your administrator credentials. Navigate to the "Recording Settings" or "Storage" section, disable scheduled recording, or switch the device mode to "live view only."
2. Turn Off Motion Detection: Many cameras activate recordings only when motion is detected. Disabling this function via the app can prevent unwanted footage accumulation.
3. Power Down Scheduled Recording: If your system is set to record based on preconfigured schedules (e.g., 8 AM–6 PM), simply toggle these off.
4. Cut Cloud Integration: For cameras uploading footage to the cloud, unpair the device from its cloud storage account.
Given administrative access, these methods afford you a safe, effective approach to controlling recording behavior. They’re convenient because they don’t interfere physically with the device itself and keep functionality intact for future use.
The Network Play: Disrupt Connectivity
If you don’t have access to the specific camera settings but do manage the system's network, temporarily halting recordings could be as simple as severing the internet connection. Almost all modern security cameras rely on stable Wi-Fi or wired networks to transmit footage to cloud-based services or remote servers. Without data pipes, the camera loses the ability to upload video.
1. Pause Wi-Fi Access: Use the router admin interface to disable the camera’s network association, whether through IP filtering, blocking MAC addresses, or rudimentary Wi-Fi shutdown.
2. Change Passwords: On your wireless network, change the SSID or authentication key to ensure that the camera loses connectivity.
3. Limit Bandwidth: If outright network access management isn’t an option, bandwidth throttling may prevent sufficient data for streaming or uploads.
Keep in mind that certain camera systems may store local recordings when disconnected from the network. Disrupting connectivity won’t always guarantee zero footage retention, particularly for hardwired setups.
The Hardware Way: Remove the Power Source
If all else fails—or for instances where direct interaction with a camera is viable—the brute-force way to stop recording involves manipulating its power source. Security cameras derive power either from socket connections, batteries, or even PoE (Power over Ethernet) cables. Disabling this connection stops all activity. Here’s how:
1. Unplug Wall Adapters: For cameras powered via AC adapters, unplugging these from sockets is a direct and foolproof way of halting operations.
2. Address Battery-Powered Cameras: For battery-driven systems, remove or discharge the camera battery.
3. Disable PoE Ports: If the device relies on PoE cables, disconnecting Ethernet cords solves both power and network data issues simultaneously.
Be cautious. Altering power sources may cause system alerts or require device recalibration once powered back on.
Physical Interventions: Shield, Divert, or Block
If modifying settings or handling power isn’t an option, less conventional physical methods may come into play. These approaches focus on obscuring the lens or blocking video footage without tampering inside the device. While not as polished as other solutions, they’re usable for short-term interference.
1. Cover the Lens: Place an opaque or semi-opaque material (like tape, cloth, or cardboard) over the camera lens. DIY solutions such as painter’s tape or a plastic bag work well if done gently.
2. Redirect Focus: Many cameras are adjustable in their placement and viewpoint. Pointing the camera toward a non-relevant background reduces privacy concerns without dismantling equipment.
3. Use High-Powered Light: Certain security cameras struggle to capture images when exposed to intense light beams. Flashlights or laser pointers directed at the lens can disrupt footage temporarily. (Seriously—don’t overdo it!)
Bear in mind that physical methods may not work on all cameras (especially devices with wide dynamic range or anti-obscure technology), and there’s a fine line between disabling a camera and outright vandalism.
Legal Considerations: Play the Ownership Card
Before you take any action—be it network settings, power modifications, or physical interventions—it is absolutely critical to evaluate your legal standing. If the security camera doesn’t belong to you or isn’t monitoring your property, tampering with it could lead to criminal charges. Surveillance laws vary by jurisdiction and heavily protect business premises and public infrastructure.
If privacy concerns arise with cameras aimed at personal spaces, address the situation diplomatically by speaking with the owner or involving local authorities where necessary. In many jurisdictions, privacy laws forbid recordings outside the intended area of surveillance—for example, capturing footage of a neighbor’s backyard or balcony.
Security Camera Anti-Tamper Features to Keep in Mind
Modern cameras are adept at countering external disruptions. Tampering alerts, offline triggers, and internal battery backups often ensure your efforts don’t go unnoticed. You’ll want to consider whether cameras are equipped with:
1. Tampering Detection Alerts: Any signal loss, network interference, or physical obstruction may prompt alerts to the system administrator.
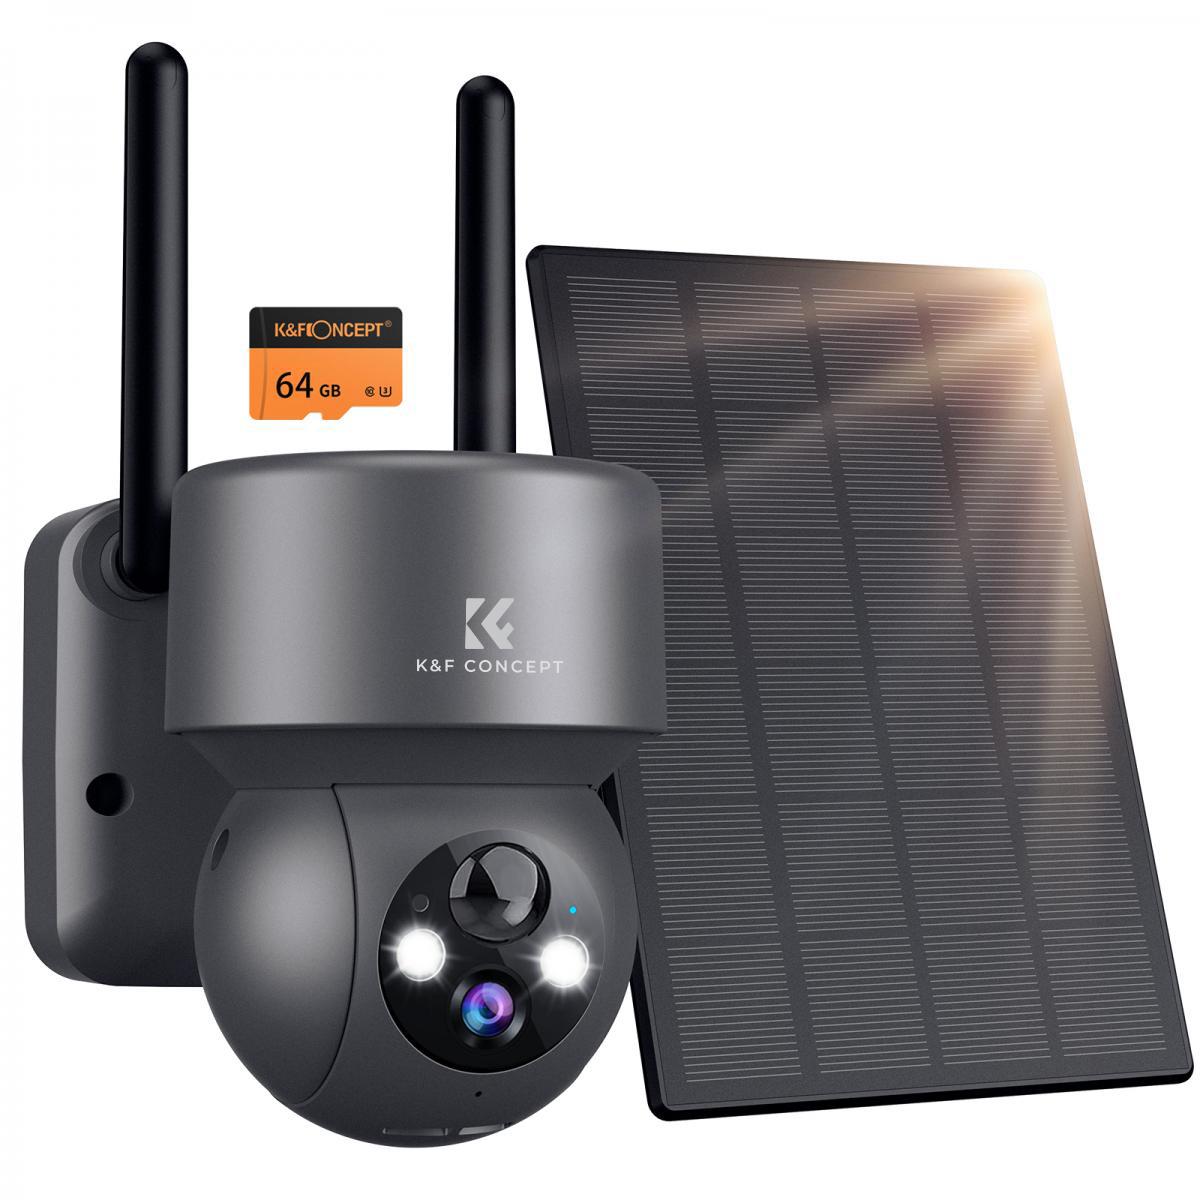
2. Built-in Storage: Many high-end cameras store recordings locally to SD cards or onboard flash memory. A disconnected Wi-Fi won’t prevent footage retention.
3. Redundant Power Supplies: Advanced setups come equipped with secondary batteries or solar panels to prevent downtime from unplugging devices.
Depending on the security level of the system you’re attempting to disable, results may vary.
Stopping a security camera from recording isn’t rocket science, but doing it right requires understanding the context. Whether you’re looking for non-invasive methods reliant on admin privileges or hardline solutions through hardware intervention, there’s an approach for every situation. While obstructing public-surveillance systems may carry legal risks and ethical concerns, modifying personal setups proves more manageable and straightforward.
In conclusion, embrace the path of least resistance. Sometimes a casual conversation with the camera owner is the fastest way to solve your problem. For those instances where friendliness fails, arm yourself with curiosity, a dash of technical know-how, and good judgment.


")


