
How To View Wireless Ip Camera?
In today’s tech-driven era, wireless IP cameras have become an essential gadget for home security, baby monitoring, or simply keeping an eye on your mischievous pets while you're away. These cameras offer the convenience of remote viewing from a smartphone, tablet, or computer, anytime and anywhere. While the thought of configuring and accessing such devices might seem daunting for beginners, it's surprisingly straightforward when broken down into actionable steps. Grab your coffee, pull out your camera box, and let’s turn your living space into a surveillance masterpiece.
Understanding the Basics of Wireless IP Cameras
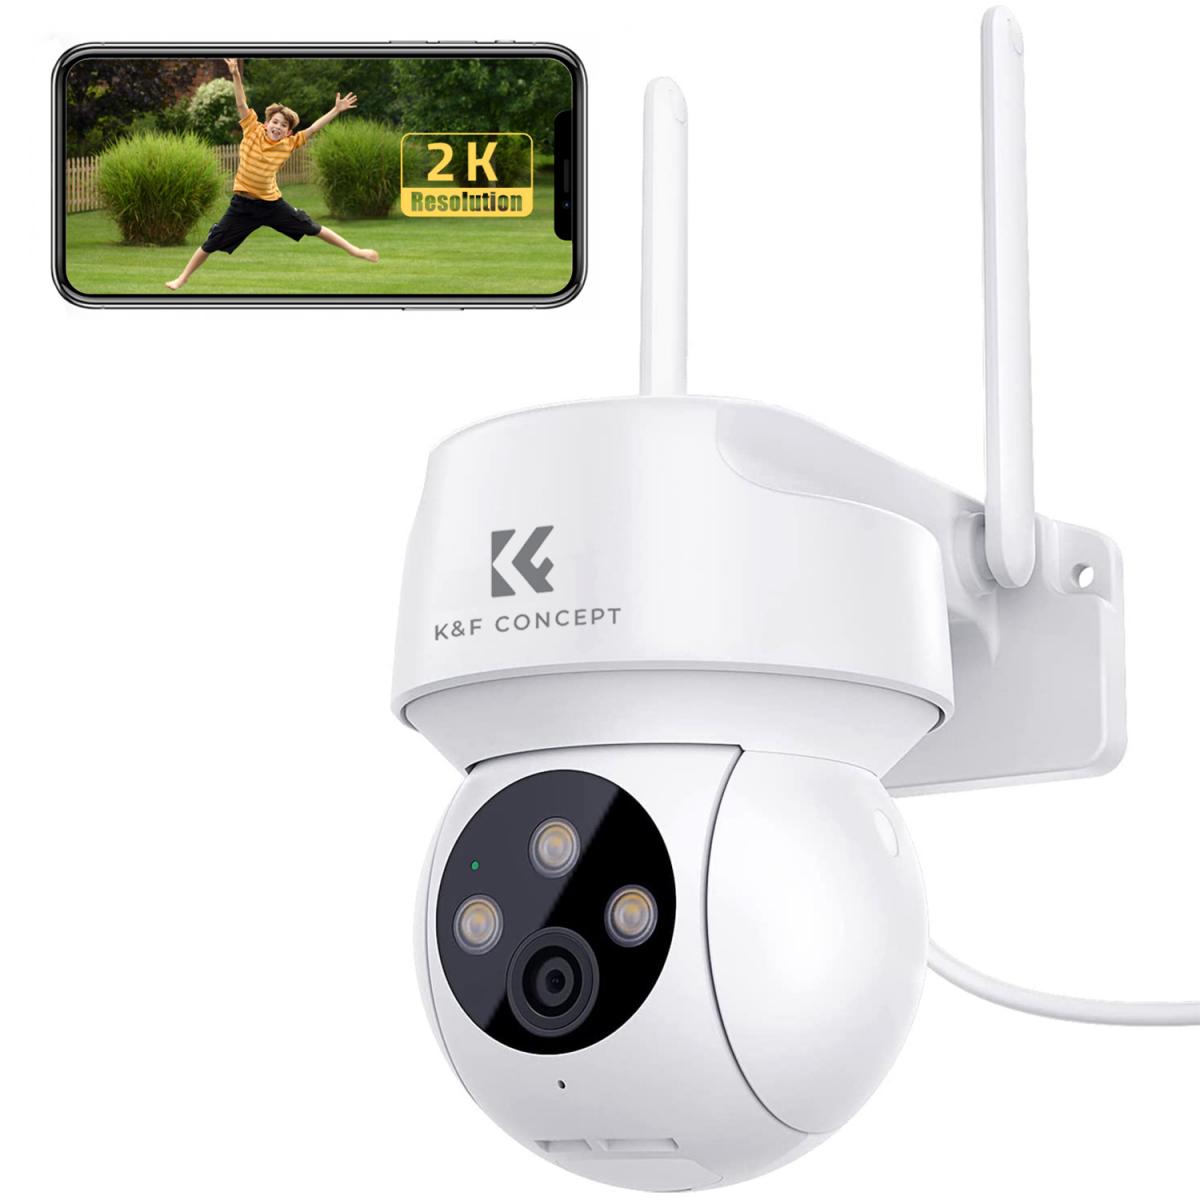
Before diving headfirst into the how, it’s important to grasp the what. An IP (Internet Protocol) camera connects to your Wi-Fi network and transmits video data over the internet. Unlike traditional CCTV cameras, IP cameras don't require a dedicated video recorder. Instead, they stream live footage, which you can view on a device of your choice.
Modern IP cameras often come with additional perks like motion detection, two-way audio for conversations, cloud storage for recorded footage, and night vision. With the right configuration, they become your digital watchdog.
Step-by-Step Guide to Viewing Your Wireless IP Camera
Step 1: Connect the Camera to Your Wireless Network
Every journey begins with powering up. Plug your camera into a power source and ensure it's within range of your Wi-Fi signal. Some cameras might require an Ethernet cable for the initial setup (don’t panic—it's only temporary). Here’s what you do:
1. Download the manufacturer's companion app. Popular brands like TP-Link, Wyze, Hikvision, and Arlo offer user-friendly apps tailored to their camera models.
2. Open the app. It will guide you through connecting the camera to your Wi-Fi. Typically, you’ll scan a QR code on the device or enter your network credentials manually. For cameras without screens, blinking LED lights will indicate connection success.
*Troubleshooting tip*: If your Wi-Fi is dual-band, ensure the camera supports both 2.4 GHz and 5 GHz bands. Some older models only recognize 2.4 GHz networks.
Step 2: Configure the Camera
Once connected to the network, it's time to personalize your setup. Accessing the camera settings on the app allows you to rename the device (e.g., "Front Door Camera" or "Office Cam"), adjust resolution, enable motion alerts, and set recording preferences.
If your camera supports cloud storage, this step is also where you'd typically create or log into an account on the manufacturer's platform to store recorded footage securely. Some devices might also support local storage if they have a microSD slot—ensure you insert a quality microSD card, ideally with at least 64GB capacity, for longer recording durations.
Step 3: Remote Viewing via Mobile or Desktop
Remote viewing is why a wireless IP camera shines. After the initial configuration via the app, you can log in from virtually anywhere using your smartphone or computer as long as you have internet access.
On Mobile Apps: The companion app works as your viewing portal, showing live footage and recorded clips. Some apps even let you pan, tilt, or zoom the camera directly.
On Web Browsers: Many IP cameras provide web-based portals via their manufacturer's website. Simply log in with your credentials. If your camera lacks this feature, you can access it directly via IP address (more on this below).
Step 4: Access Camera with Direct IP Address
For advanced users seeking granular control, most wireless IP cameras can be accessed via their IP address through a browser interface. Here’s how:
1. Find the camera’s IP address. This can usually be obtained from the app or through your router’s admin page. (Log into your router, navigate to "Connected Devices," find your camera, and note its IP).
2. Type the IP address into your browser. You’ll be prompted with a login screen. Use the credentials provided by the camera manufacturer.
3. Voilà! You've entered the interface for camera control—customize stream settings, access video footage, and troubleshoot network issues directly.
*Pro users*: Configure port forwarding in your router settings if you wish to access the camera outside your home network.
Step 5: Use Third-Party Software for Unified Camera Management
Got multiple cameras from different brands and want to streamline control? Third-party IP camera management software like Blue Iris or iSpy is your best ally. These programs aggregate streams from all your devices into one interface. With advanced features like video analytics, cloud integration, and triggers for custom actions, you’ll feel like the boss of a DIY command center.
*Friendly advice*: Pay attention to licensing costs and compatibility with your camera’s protocol (ONVIF support is a good indicator).
Practical Scenarios for Wireless IP Camera Viewing
Let’s imagine the possible use cases:
Home Security: Away for a vacation? Pull out your phone and check whether the neighbor’s cat is still trespassing.
Baby Monitoring: Your bundle of joy decided to climb out of their cot? Get motion alerts and rush in before they turn into a mini ninja.
Office Surveillance: Ensure your snack stash isn’t raided by sneaky colleagues when you're out for lunch.
Essentials for Success
Start Strong with Camera Placement
Even the best camera is useless without strategic positioning. Aim for high traffic areas such as entrances and corridors. Preferably mount cameras high—like Gandalf said, higher ground gives you the advantage (or maybe that was Obi-Wan).
Maintain Firmware Updates
Your camera is like your phone—it needs updates to stay functional and secure. Always check for firmware upgrades on your app or web interface to patch vulnerabilities and unlock new features.
Secure Your Setup
Remember, wireless IP cameras transmit data—the last thing you need is unauthorized access. Use strong, unique passwords for your network and camera, and enable encryption options (WPA2 for your Wi-Fi is a must).
Closing Thoughts
Viewing your wireless IP camera shouldn’t make you feel like a hacker in an action movie. It’s a mix of straightforward software, solid configuration, and common sense. Once you’ve completed the setup, bask in the satisfaction of knowing you’ve got an unbeatable virtual bird’s-eye view of your space. It’s security, parenting, and espionage rolled into one magical gizmo.
Now, whether it’s watching the delivery guy ninja-drop your parcels or ensuring Cranky Max (your dog) doesn’t shred the sofa again, you’re all set to rule your surveillance sphere with style. Welcome to the future; you’ve come prepared!


