
How To Use A Camera Simple For Kids?
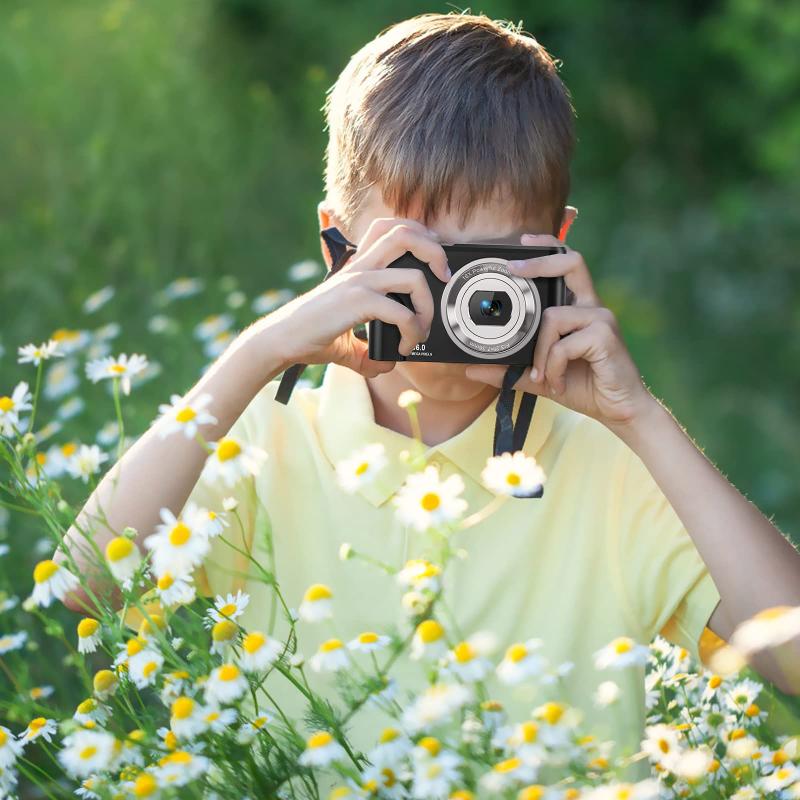
Cameras have become ubiquitous in our lives, yet not all of us, especially kids, find them intuitive. There’s a curious joy in teaching children how to capture the world through a lens—they start to see magical moments through their own eyes, freeze those memories, and better connect with the beauty around them. But let’s be honest: breaking down camera use for kids can sometimes feel like decoding ancient hieroglyphics. Fear not—here we will simplify the essentials, sprinkling useful information with a dash of fun science, so they can start clicking away confidently!
## Begin with Basics: What Is a Camera?
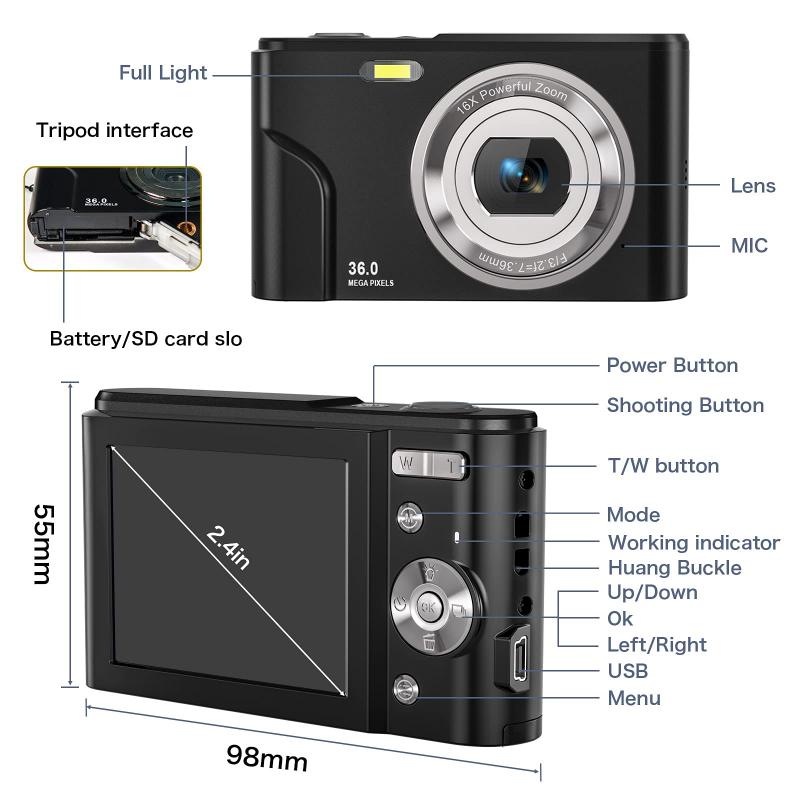
First things first, strip the gadget to its bare concept. Explain to kids that a camera is like a mechanical eye—it “sees” the world and “remembers” it by saving an image. Let them understand that every button has a purpose, just like parts of the body do. Show them the lens (the camera's eyeball), the shutter button (its eyelid), and the screen or viewfinder (how the camera shares what it sees).
For younger kids, you could draw parallels between a camera and their own eyes. The lens focuses light, the sensor works like the brain, and each photo is like a memory. This groundwork keeps things simple and oddly fascinating—they'll love the idea of gadgets having human-like functions.
## Step 1: Getting to Know the Camera
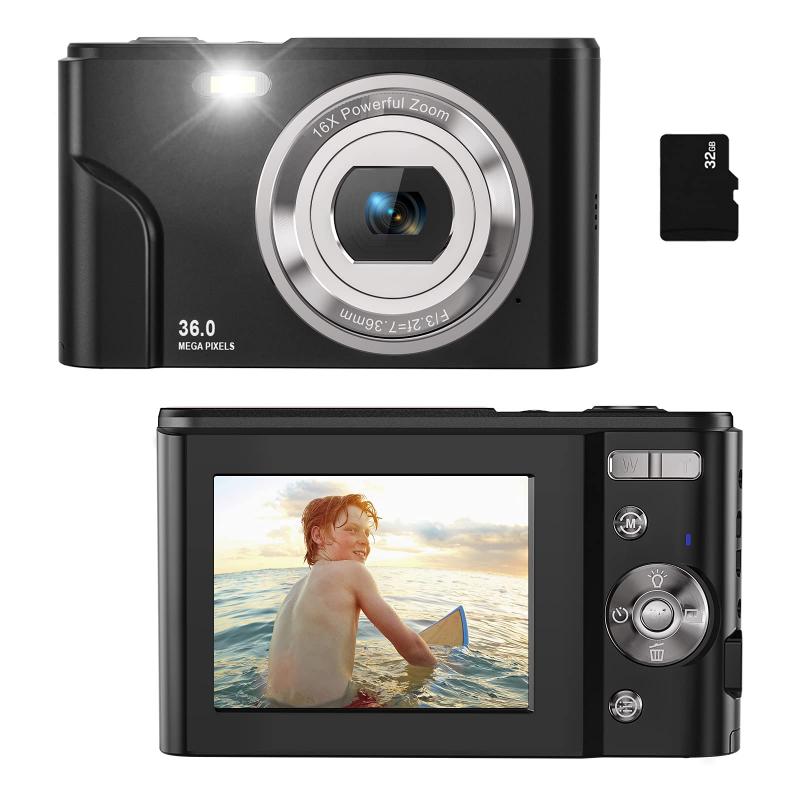
Before diving into capturing Oscars-worthy shots, kids need to familiarize themselves with their new companion. Let them press buttons, move dials, and see what happens! For beginner-friendly cameras or cameras on smartphones, the fewer functions, the better. If you’re using a more advanced camera, keep it in “auto” mode to avoid overwhelming them.
Encourage an exploration session with some simple guiding questions:
- “What happens when you press this button?”
- “What does this screen show you?”
- “Can you figure out how to zoom in and out using this toggle or ring?”
You don't need to make these questions feel like a quiz—let curiosity take charge.
Now, let’s not forget kids’ tendency to run experiments in extreme conditions. Be sure to explain the importance of protecting the camera from water, dust, or sudden drops. Consider getting a rugged or shockproof camera for especially enthusiastic participants.
## Step 2: Framing the World
This is where things begin to feel magical. Teach children about framing a picture—they don’t need to know technical rule-of-thirds just yet. A simple approach is to tell them to keep the most important thing (a person, an animal, or a funny-looking cloud—whatever catches their interest) in the center of the screen. For older kids, challenge them to create balance and symmetry by considering objects in the foreground and background.

Let them experiment with angles too! Squat down low to take pictures of toy cars, or hold the camera high above their heads for a bird’s-eye view. You’d be surprised how imaginative kids can be with perspectives.
Bonus tip: Try turning it into an interactive game. Ask them to take photos from different viewpoints:
- “How would this flower look if you crouched?”
- “Can you photograph me from behind the couch—and include my socks?”
Games make concepts stick without feeling like lessons.
## Step 3: Mastering the Shutter Button
The shutter button is a vital ritual in the art of photography for kids. Two pieces of advice here:
- Teach them to hold the camera steady so their photos aren’t blurry. For beginners, holding it with two hands might feel natural—but show them how to brace the camera gently against their torso or extend their hands firmly. For little ones, letting them rest elbows on a table or stable surface helps even more.
- Emphasize patience. Kids often press the shutter button with reckless abandon like they’re ringing a panic alarm. Show them how a gentle press works wonders—this delicate action often feels rewarding. Remind them: tapping is for screens, while pressing is for buttons.
A bonus skill to teach, if your camera allows: burst mode. Kids sometimes want to capture moving objects like a flying bird or a running dog. Burst mode lets them take a rapid series of photos that tell a story frame by frame!
## Step 4: Understanding Light (But Keep It Simple)
Kids don’t need to dive into aperture sizes or shutter speeds yet—it’s enough for them to understand light basics. For example, teach them how photos appear different depending on light sources and time of day. Encourage experiments:
- “How does this tree look in sunlight, shadow, or at sunset?”
- “What happens when you take a picture in a really dark room?”
If the camera or phone has a built-in flash, show them how it works, but caution them about overusing it as it might wash out subjects too close to the lens. More essential than tech is helping them appreciate the wonder of light—kids naturally love how shadows fall, colors shift, and things sparkle; cultivate their curiosity, and technical details will follow later.
## Step 5: Encouraging Creative Storytelling
A camera does more than capture objects—it tells stories. Help kids explore the storytelling aspect of photography by introducing a few playful ideas:
- “Imagine you’re making a comic book with just photos—what happens in the first picture, the second, then the third?”
- “Leave clues in your photo! This picture should make me wonder what I’ll see when I turn the corner.”
Suddenly, the camera becomes an endless narrative tool. Kids start looking deeper, choosing subjects for their photos more thoughtfully, and arranging scenes with flair.
## Step 6: Editing Photos Together
Once kids are experienced snapping photos, it’s time to dabble in simple photo editing. Using apps like Snapseed, Adobe Express (free version), or even in-camera filters lets them enhance photos by tinkering with brightness, colors, and cool effects. This is where creativity explodes—they can adjust things to match their feelings or imagination.
For younger kids, steer them toward apps that simplify features rather than giving full manual control so they aren’t overwhelmed. Even drawing on the photos with doodles is an inviting edit option!
## A Few Extra Tips for Fun
1. Make outings photography-themed: A trip to a park or zoo becomes an expedition to capture wildlife, flowers, and landscapes. Turn it into an adventure!
2. Praise effort, not outcome: There’s no room for perfectionism in kid photography. Whether the camera accidentally captures the wall or blurry images of their own shoes, celebrate exploration!
3. Take photos together: Let them see you experimenting, making mistakes, and enjoying yourself. Your example encourages them to build skills over time.
Photography is much more than point-and-shoot; it’s about discovering perspectives, embracing creativity, exploring surroundings, and weaving stories frame by frame. Watching kids transform into budding photographers is incredibly rewarding—they don’t just learn how cameras function; they learn how to see the world intentionally. So hand over that magical device, step back, and let them discover. Careful, though—you might end up the subject of their masterpiece more often than expected!


")
 Optical Glass Ultra-clear Waterproof Anti-Scratch Anti-Reflection Green Film Nano-Xcel Series")


 Multi Coated HD Optical Glass with Anti-reflective Green Coating")


")


