
How To Set Up Wifi Security Cameras?
Setting up Wi-Fi security cameras can feel a bit intimidating if you're new to the world of smart home gadgets, but with the right steps and tips, you'll have them up and running efficiently in no time. Wi-Fi cameras are incredibly versatile tools for keeping your home or office secure, and they come packed with features, from live streaming to motion alerts and even AI-based facial recognition in some models. Here's a comprehensive guide to setting them up properly so you can enjoy peace of mind—and avoid pulling your hair out over technical hiccups.
Step 1: Start with Preparation
Before diving into the setup, gather all the essentials and make sure you're ready. You're going to need:
- A solid Wi-Fi connection (preferably 2.4 GHz—some cameras don’t work with 5 GHz networks).
- Your smartphone or tablet with the manufacturer’s app already downloaded.
- The camera and its included hardware, along with the user guide.
- Power outlets within reach where you'll install the device.
Pro Tip: Test the Wi-Fi signal strength at the intended location of the camera. Security cameras are notorious for spitting out "connection error" messages if they’re placed too far from your router or if your signal is weak. Use free apps like Wi-Fi analyzer tools to gauge the signal quality.
Step 2: Place & Install the Camera
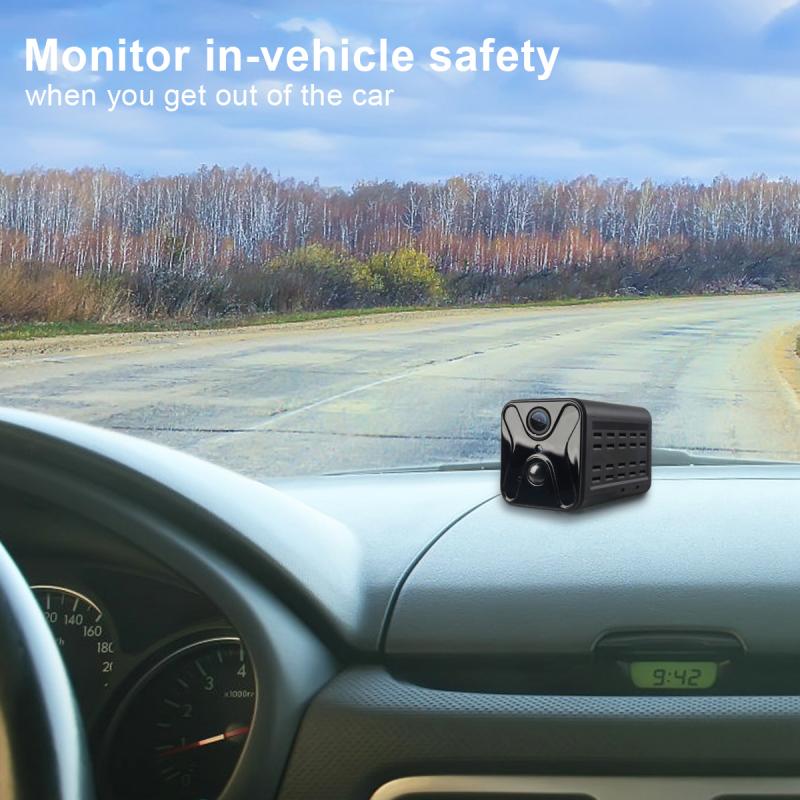
The placement of a security camera can make or break its utility. Think about what you want to monitor. Is it your front door, garage, backyard, or baby’s nursery? Once you decide on the location:
1. Consider the viewing angle. Many cameras offer wide-angle lenses, but take a few moments to plan the best field of view.
2. Ensure the camera is placed high enough to avoid vandalism but low enough for clear visibility.
3. If your camera is weatherproof and intended for outdoor use, double-check its IP67 (or equivalent) rating.
If the camera needs to be mounted, use the tools provided by the manufacturer to securely anchor it. You don’t want important footage being ruined because the camera slipped out of place during a breeze—or worse, a squirrel decided it would make a good nest.
Step 3: Connect the Camera to Wi-Fi
Now comes the magic moment—syncing your camera with your network:
1. Plug the camera in to power it on.
2. Open the camera’s companion app on your smartphone or tablet.
3. Follow the app’s instructions to connect the camera to your Wi-Fi network. Usually, you’ll need to enter your network credentials (SSID and password).
Take note: Some cameras require one-time Bluetooth pairing or scanning a QR code on the device. It’s a smart security feature but can be finicky if your phone camera decides, on that particular day, not to play nice with QR codes. Be patient.
Troubleshooting Tip: If connection fails, make sure your phone is connected to the same Wi-Fi as the camera. Also, confirm that your router is broadcasting a frequency the camera supports. Remember, many consumer-grade cameras only work on 2.4 GHz.
Step 4: Configure Settings
Once your camera is online, it’s time to customize its settings. This part is essential because security cameras are about more than just “set it and forget it.”
1. Motion Detection: Adjust the sensitivity. Too high, and you’ll be notified every time a leaf falls near the camera; too low, and you might miss important events.
2. Notifications: Decide when you want alerts sent to your phone. Most apps allow you to filter notifications based on the time of day or type of activity detected.
3. Resolution Settings: Go for high-definition (1080p or higher) if possible, but remember that higher resolutions consume more bandwidth. If your Wi-Fi struggles, it’s okay to dial down the resolution.
4. Storage: Set up cloud storage or a local memory card (if your camera supports it). Cloud storage usually incurs monthly fees but ensures you can access recordings even if the camera is tampered with.
5. Privacy Zones: Many cameras let you draw “zones” on the screen where motion detection shouldn’t trigger. This is perfect if there’s an area constantly in motion, like a neighbor’s wind chimes that might drive the camera bonkers.
Step 5: Test & Optimize
With everything set up, don’t leave the camera alone just yet. Run tests to ensure it’s capturing what you want:
1. Walk around in front of the camera to check the field of view and motion detection accuracy.
2. Check playback quality for recorded footage.
3. Make sure notifications are arriving promptly on your phone.
If the camera isn’t performing the way you hoped, tweak its position or settings. Sometimes even a minor change in the mounting angle can dramatically improve results.
Step 6: Fortify Security
Wi-Fi cameras bring convenience, but no technology is immune to risks. Here are some measures to tighten security:
1. Change Default Passwords: Many cameras ship with default login credentials (e.g., admin/admin). Change these immediately to avoid being an easy target for hackers.
2. Enable Two-Factor Authentication (2FA): If the app offers 2FA, use it. It adds an extra layer of security beyond just a username and password.
3. Software Updates: Regular updates fix vulnerabilities. Turn on auto-updates or make it a monthly habit to check if your camera has new firmware.
4. Monitor Network Activity: Occasionally review what devices are connected to your Wi-Fi. Rogue devices might signal that your network has been compromised.
Step 7: Maintenance & Troubleshooting
Congratulations! Your camera is live. Here’s how to keep it in good shape:
1. Clean the Lens: Dust, cobwebs, and smudges can degrade image quality. A soft microfiber cloth will do wonders.
2. Reboot Regularly: Cameras, like any devices, benefit from an occasional reboot to reset connection issues or glitches.
3. Test Motion Alerts: Every few weeks, confirm the notification systems are working as intended.
4. Inspect Mounts: Outdoor cameras are especially prone to wear due to weather. Periodic checks can prevent unexpected mishaps.
The Fun Part: Advanced Features
Once you’re comfortable with the basics, why not explore your camera’s advanced functionalities? For example:
Integrate with Smart Assistants: Many cameras sync with Alexa, Google Assistant, or Apple HomeKit for voice control.
Shared Access: Want your partner or roommate to have access but not full control? Set up limited accounts via the app.
Scheduled Recording: If your camera supports it, set Schedule Mode to only record during specific hours to save bandwidth and storage.
Wrapping Up
Setting up Wi-Fi security cameras might initially feel like building IKEA furniture without pictures, but think of every step as building a crucial layer of protection for your space. By following these steps and keeping security and functionality at the forefront, you’ll not only keep intruders out but also enjoy the creative perks of a connected home.
So, what are you waiting for? Let your cameras start watching over you—without being creepy, of course!


 Variable ND Filter and CPL Circular Polarizing Filter 2 in 1 MRC 28-Layer for Camera Lens Nano-Xcel Series")


*1+Vacuum Cleaning Cloth*2+Digital Camera Anti-lost String*1, 4 in 1 Set")


