
How Do You Install Carbon Monoxide Detectors?
Let’s face it—carbon monoxide doesn’t play fair. It’s colorless, odorless, tasteless, and downright sneaky. Yet, this silent threat can wreak havoc if left undetected. Every year, unsuspecting homes fall victim to the subtle danger of carbon monoxide poisoning resulting from faulty appliances, blocked chimneys, or even attached garages. Luckily, installing carbon monoxide detectors is a straightforward yet life-saving effort that can turn the tables on this invisible adversary. So, let's roll up our sleeves and dive deep into ensuring your home is armed to the hilt with these small yet mighty devices.
Why Carbon Monoxide Detectors Are Essential

Before we get into the installation process, let’s revisit the “why.” Carbon monoxide (CO) is a byproduct of incomplete combustion and can seep into your living spaces from malfunctioning gas stoves, water heaters, fireplaces, or even cars running in enclosed garages. Symptoms of carbon monoxide poisoning often mimic the flu—headache, nausea, dizziness—making it tricky to identify. Prolonged exposure can lead to confusion, unconsciousness, or even death. Having carbon monoxide detectors means you’ll be alerted to rising CO levels before your body does, giving you time to take action.
Safety aside, modern detectors can come packed with features that are nothing short of futuristic. Wi-Fi connectivity, remote alarms, and multi-sensor capabilities (some can detect smoke too!) mean you’re not just buying safety—you’re adding intelligence to your home.
Step-by-Step Guide: Installing Carbon Monoxide Detectors the Right Way
1. Where Should You Place Them?

First things first: placement. Carbon monoxide doesn’t obey the rules of physics in the way smoke does—it disperses evenly in the air. That means the old adage that detectors have to be ceiling-mounted doesn’t necessarily apply here. Instead, keep these key placement tips in mind:
Bedroom Priority: Install one near every sleeping area. If CO leaks overnight, you want the detector close enough for its alert to wake up even the heaviest sleeper.
Multi-Level Homes: Place a detector on every floor of your home, including the basement, since appliances like furnaces are common culprits in CO leaks.
Proximity to Potential Sources: Install detectors within 5-20 feet of any fuel-burning appliance (e.g., stove, heater, fireplace) but not directly above or adjacent. Too close, and minor CO emissions may lead to false alarms; too far, and the device might not catch elevated levels in time.
2. Pick the Right Detector Type

Are you going for plug-in, battery-operated, or hardwired? Let me break it down:
Battery-Operated Detectors: These boast easy installation and portability. If you move to another house, it’s easy to grab them and go. They also work during power outages—a huge perk.
Plug-In Detectors: Simple to use, these plug directly into a standard outlet. However, you may need to position outlets with care since they must align with installation guidelines.
Hardwired Detectors: Tied directly into your home's electrical system, these are often paired with smoke detectors for dual functionality. Installation might require professional help, but they usually come with battery backups to outlast blackouts.
3. Follow Installation Instructions
Every detector model comes with its unique quirks. Read the manufacturer’s installation guide carefully—seriously, those few pages are worth gold. Here’s an overview of basic installation instructions:
Mounting Battery-Operated Models: Grab a drill, screw the base plate onto your designated wall spot, and click the detector into place. Easy peasy.
Plugging In: For plug-in versions, simply pop it into an outlet at eye level or slightly above. Avoid outlets directly beneath kitchen counters or covered areas where airflow is limited.
Hardwired Units: If you’re going down the hardwired route, you might need to enlist an electrician. This is especially true if integrating with your home's existing alarm system is part of the plan.
4. Test the Detectors
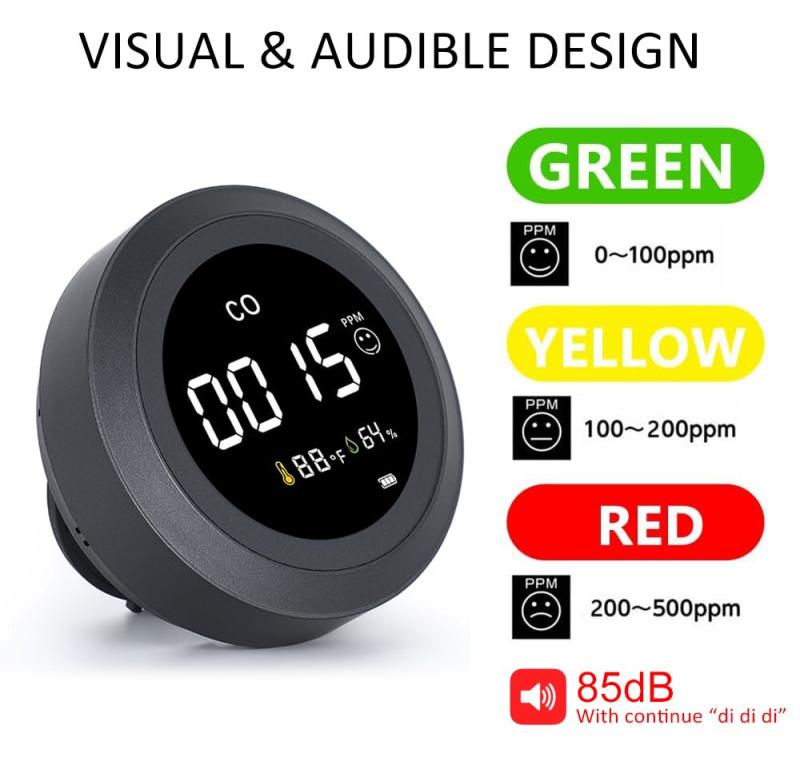
Once installed, testing ensures they’re ready for action. Most detectors have a test button. Press and hold until the alarm sounds—you’ll know it’s working if sirens pierce the air. Some models even feature digital displays that show CO levels during testing.
5. Maintenance 101
If you thought you could install a detector, pat yourself on the back, and forget it—you’re sorely mistaken. These devices demand TLC to stay vigilant:
Battery Checks: Replace batteries at least twice a year, using daylight-saving time as your reminder.
Sensor Lifespan: The sensors inside detectors degrade over time. Replace the entire unit according to its stated shelf life, usually every 5-10 years.
Dust and Debris: If the detector’s air vents are clogged, it may not accurately detect CO. A quick vacuuming every few months provides effective cleaning.
Bonus Features: Smart Detectors You Didn’t Know You Needed
Want to take it up a notch? Modern smart CO detectors integrate seamlessly with home automation systems. Imagine controlling and monitoring air quality levels right through your smartphone—even while you’re sipping espresso at a bustling café. Some detectors even send real-time alerts to your phone in case of elevated CO levels at home. Forget 2023—we’re practically living next-level science fiction here.
For the ultra-tech-savvy individuals, there are models with voice commands! When a detector triggers, it won’t just beep—you’ll hear something like "Carbon monoxide detected! Move to fresh air immediately!" Isn’t it better to get verbal instructions than panic under the vague screech of a deafening alarm?
Common Missteps—and How to Avoid Them
Carbon monoxide detector mishaps are surprisingly common. Here’s a pro tip: never install detectors right next to windows, fans, vents, or air conditioners. Fresh air movement could dilute CO concentrations enough to avoid detection, leaving you vulnerable.
Another rookie mistake? Neglecting false alarms. If your detector trips frequently, don’t assume it’s broken. Review placement and analyze household activities—activities like painting, using certain cleaning agents, or running vehicles in the garage may trigger alarms. If those don’t explain the issue, contact the manufacturer. A trigger-happy detector might still save your life.
Wrapping It Up
Installing a carbon monoxide detector is like hiring a bodyguard—responsible for ensuring your safety when danger is lurking. Sure, your home won't transform into Fort Knox overnight, but your odds of battling unseen threats increase exponentially. Whether you opt for basic battery-operated units or AI-powered smart detectors, take the time to position, check, and maintain them diligently. Remember, when it comes to carbon monoxide, ignorance isn’t bliss—it’s outright risky.
So, prep your tools, choose your detectors wisely, and banish the lurking specter of carbon monoxide once and for all. Being proactive today is the key to avoiding catastrophic “what ifs” tomorrow. House Hunt Hero? No. Safety Savant? Absolutely.
![Carbon Monoxide Detectors Portable Temperature Detector/Humidity Sensor/Air Quality Meter Smoke CO Gas Monitor [3 in 1] Alarm](https://img.kentfaith.de/cache/catalog/products/de/GW40.0007/GW40.0007-1-200x200.jpg "Carbon Monoxide Detectors Portable Temperature Detector/Humidity Sensor/Air Quality Meter Smoke CO Gas Monitor [3 in 1] Alarm")


")

")


