

How To Replace Carbon Monoxide Detector?
If you're living in a home, breathing clean air should be a non-negotiable right, not a gamble with potential silent killers like carbon monoxide (CO). A carbon monoxide detector is a small but mighty sentinel that ensures you're on the safe side of that coin. But just like any hardworking soldier, there comes a day when it needs to retire and make room for a fresh recruit. If you’re staring at your aging or chirping CO detector and wondering how to give it a worthy send-off, this guide is your roadmap.
Before we dive in, let’s set the stakes: carbon monoxide is often labeled the “silent killer.” It’s colorless, odorless, and utterly invisible, the stuff of horror movies where the villain lurks in plain sight. Unlike the cinematic counterparts, though, we have the tools to fight back. A functional carbon monoxide detector isn’t just a suggestion; it's your lifeline. Here's how you can replace one like a pro.
Step 1: Identify the Type of Detector You Have
Not all carbon monoxide detectors are created equal. Your current setup might be one of three types:
1. Battery-operated units: Quick and convenient but require periodic battery replacements.
2. Plug-in detectors: These plug into an electrical outlet, often with a battery backup.
3. Hardwired detectors: Integrated into your home’s electrical system, potentially with a backup battery.
Before heading to the hardware store or hitting "Order Now" online, take a moment to confirm the type you have. It’s also worth noting the features of your current device—does it have a digital display? A test/silence button? Good-to-know stuff.
Step 2: Check the Manufacturing and Expiration Dates

Here’s the part no one remembers to do but should: look for the expiration date on your old device. Carbon monoxide detectors typically last 5 to 10 years, and after that, their sensors are about as reliable as a weather app during hurricane season. The back or side of the detector usually has the manufacturing date. If you’re unsure when it expires, subtract the device’s stated lifespan (usually found in the user manual) from the manufacture date.
Off to the store or online? Don’t just duplicate what you have—life’s about upgrades! Look into newer models with smart features, like integration with your home assistant (Alexa, Google, etc.) or connectivity to your smartphone for remote alerts.
Step 3: Safety First (Always.)
Before you begin, let’s not tempt fate. Especially for plug-in or hardwired detectors, ensure there’s no electrical current flowing through the system:
Plug-in units: Unplug them. Easy enough.
Hardwired units: Turn off the breaker that powers the detector’s location.
Working with electricity is like taking a stroll through Jurassic Park—fine as long as the fences are off, but why risk it?
Step 4: Remove the Old Detector

Here’s where the old warhorse gets retired. The removal process varies slightly depending on the type:
Battery-operated det: This may involve sliding the detector out of a mounting bracket or unscrewing it from the wall. Batteries are usually held inside a compartment you can open once you pull the detector off its base.
*ElectricMethodsw


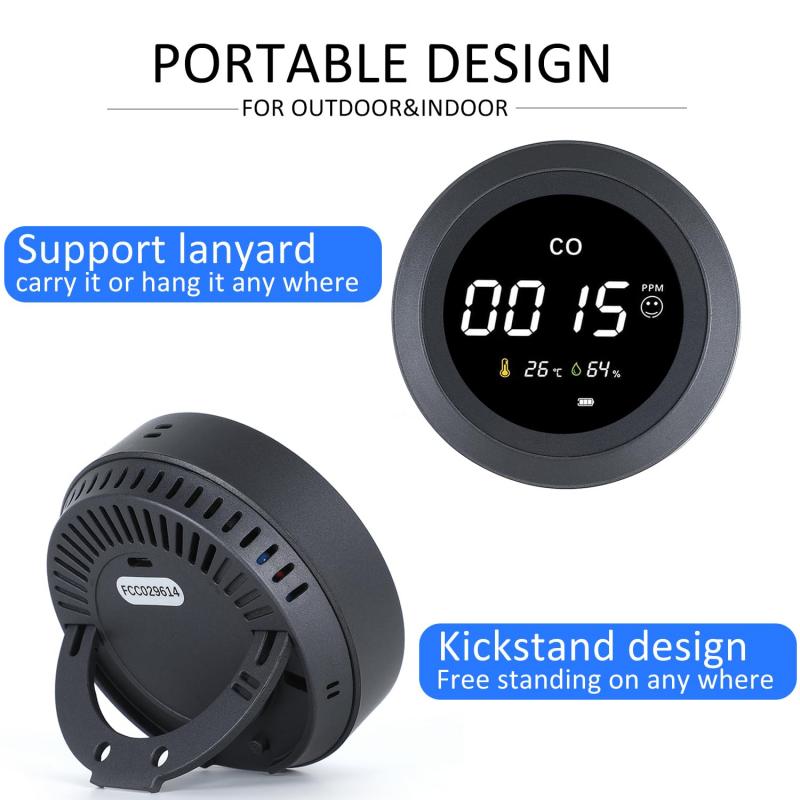
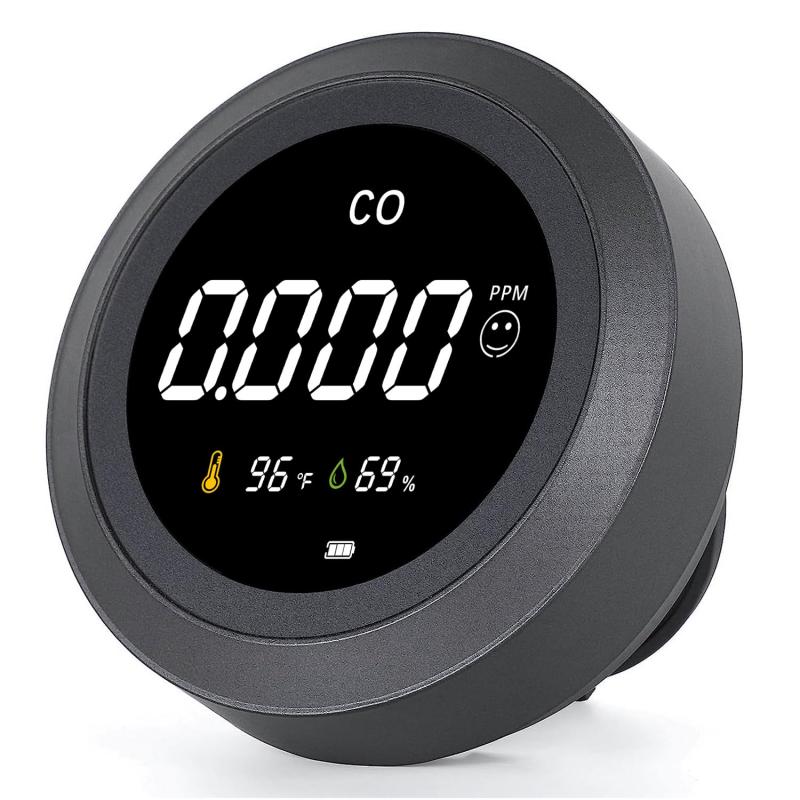
![Carbon Monoxide Detectors Portable Temperature Detector/Humidity Sensor/Air Quality Meter Smoke CO Gas Monitor [3 in 1] Alarm](https://img.kentfaith.de/cache/catalog/products/de/GW40.0007/GW40.0007-1-200x200.jpg "Carbon Monoxide Detectors Portable Temperature Detector/Humidity Sensor/Air Quality Meter Smoke CO Gas Monitor [3 in 1] Alarm")


 Nano-Klear")


