
How To Set A Metal Detector?
How to Set Up and Optimize a Metal Detector: A Comprehensive Guide
Metal detecting can be an incredibly rewarding hobby or professional endeavor, allowing people to uncover history, find valuable items, or simply enjoy the thrill of discovery. However, to reap the most benefits from a metal detector, it’s vital to understand how to set it up and optimize its settings for the environment and your specific goals. In this article, I’ll walk you through step-by-step instructions on how to set up your metal detector, including tips to maximize its performance for different scenarios.
Understanding Your Metal Detector
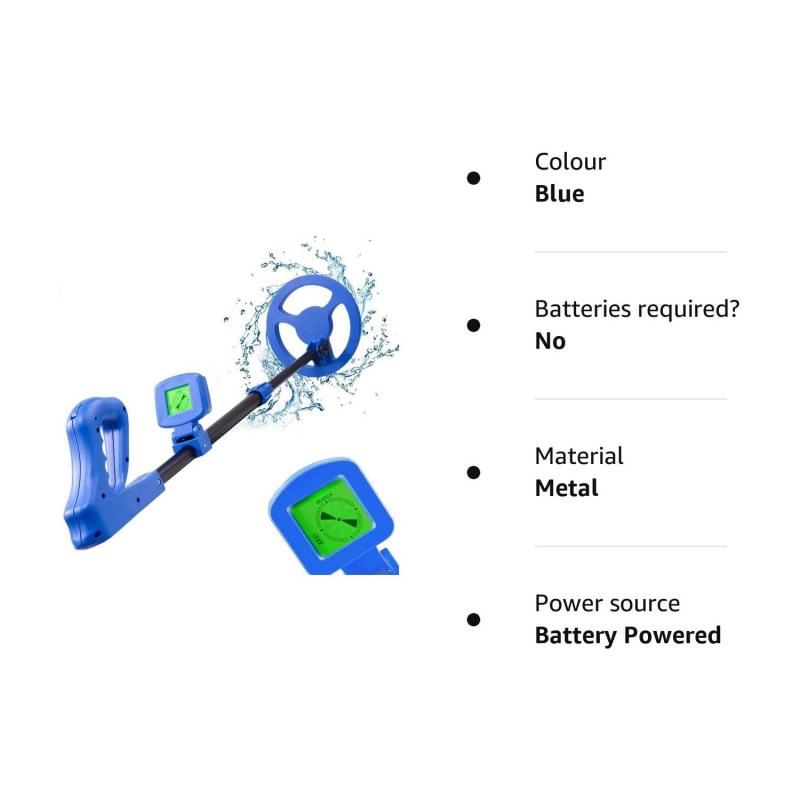
Before jumping into the setup process, it’s essential to familiarize yourself with your metal detector and its components. Metal detectors come in various models, ranging from basic entry-level devices to advanced machines with specialized features. Regardless of the type, most modern detectors share core components, including:
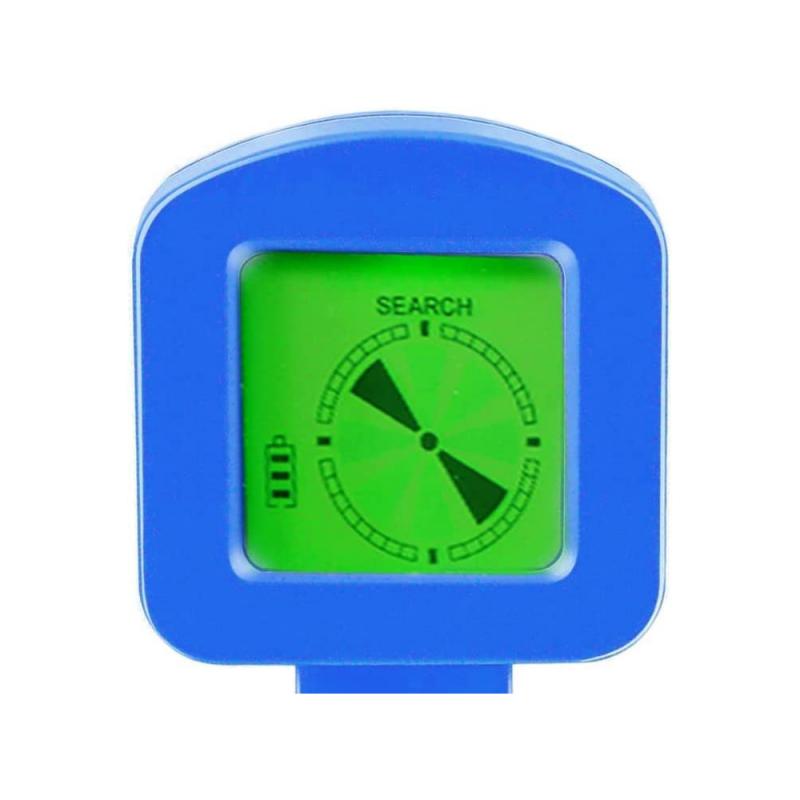
1. Control Box: Houses the electronics and contains controls for adjusting settings like sensitivity and discrimination.
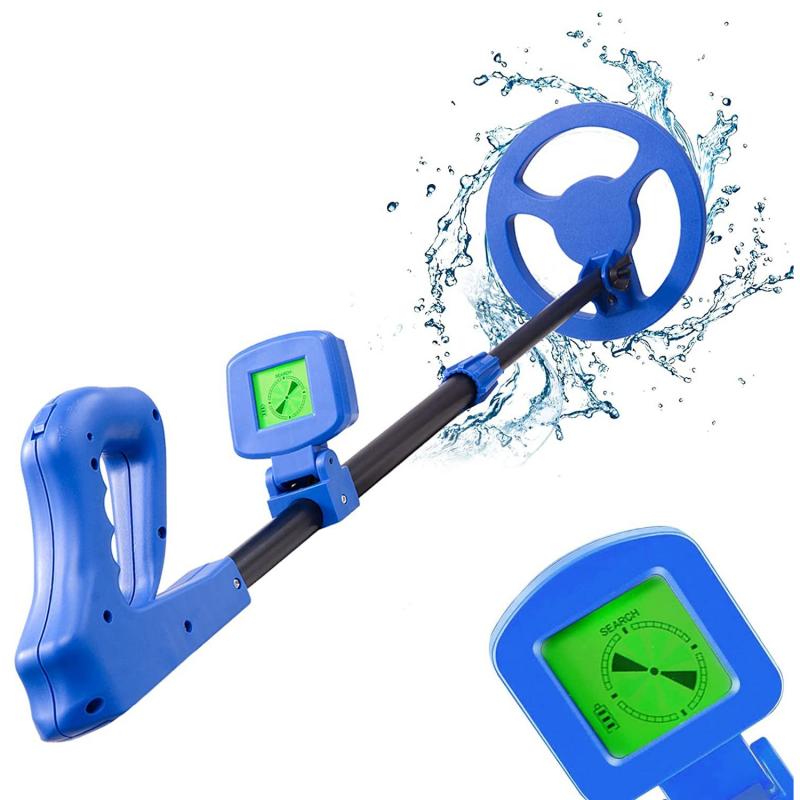
2. Search Coil: The part of the detector responsible for generating signals that interact with metal objects in the ground.
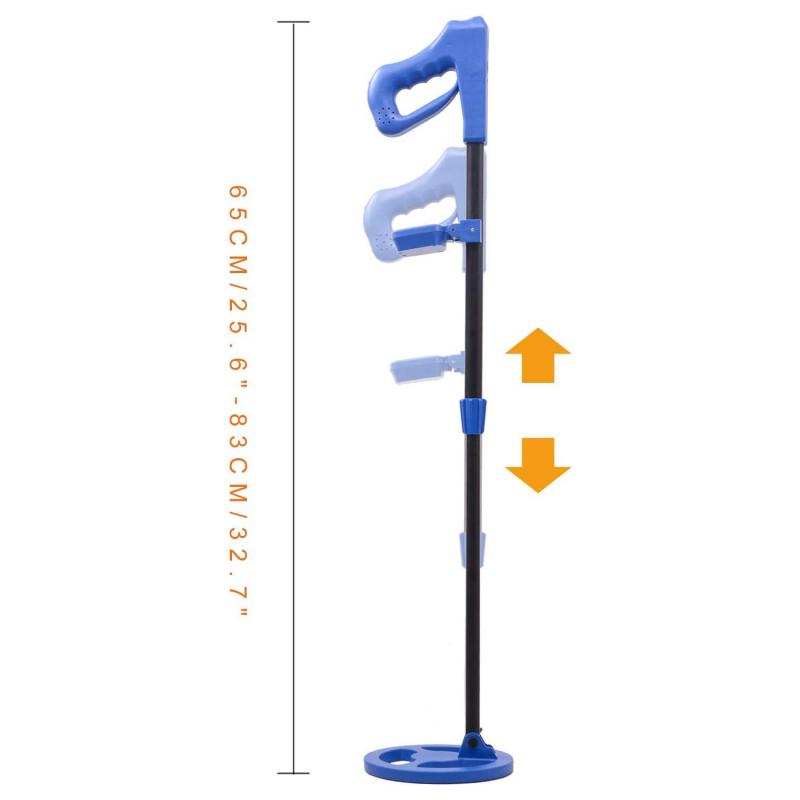
3. Stem: Connects the control box to the search coil and can often be adjusted for height.
4. Headphones (Optional): Many detectors allow for the use of headphones to better hear signals.
Having a clear understanding of these components will make the setup process much smoother.
Step 1: Assemble Your Metal Detector
Most detectors arrive partially disassembled and require some setup before use. Follow these general steps to assemble your unit:
1. Attach the search coil to the lower part of the stem.
2. Connect the stem to the control box, ensuring it is secured tightly.
3. Adjust the stem length so the detector's coil is comfortably positioned close to the ground without straining your back or arms.
4. If using headphones, plug them into the headphone jack on the control box.
5. Check that all screws and connections are tight but not overtightened, as this could damage components.
Pro Tip: Read your model-specific user manual for any unique assembly instructions, as improper setup could affect the detector’s performance.
Step 2: Power On and Perform Initial Tests
Once the detector is assembled, power it on to check that it’s working correctly. Insert fresh batteries or ensure the rechargeable battery is fully charged before turning it on. A weak battery can diminish the detector's sensitivity.
After powering up the device:
- Test the connection between the control box and search coil by briefly running the coil over a small metal object, such as a coin or key.
- Listen for audible beeping or observe signal indicators on the display screen (if applicable).
Step 3: Adjust Sensitivity Settings
Sensitivity controls are integral to enhancing the detector's ability to locate objects buried in the ground. Properly calibrated sensitivity ensures you can find even small or deeply buried items while minimizing interference from environmental factors.
- Start with the sensitivity set to a mid-range level. Too high can cause false signals due to electromagnetic interference (e.g., power lines or mineral-rich soils), while too low might fail to detect weaker signals.
- Gradually raise or lower the sensitivity level based on your testing in the environment. If you encounter too much chatter or noise, decrease it slightly until the signals stabilize.
Pro Tip: If you’re detecting in areas with heavy mineralization, such as beaches or mountains, consider using a detector with ground balancing capabilities.
Step 4: Learn and Use Discrimination Settings
Discrimination is one of the most valuable features of a metal detector, allowing you to filter out unwanted metals. For example, it can help you ignore "junk" metals like iron or foil when searching for valuable materials like gold or silver.
- Start with zero discrimination if you’re unfamiliar with the area, as this ensures no target signals are excluded.
- If you notice frequent signals from trash items, adjust the discrimination settings to filter out specific metals. For example, iron can usually be excluded while retaining signals from coins or jewelry.
- Experiment with different discrimination ranges, and perform test digs to understand how the detector responds to both wanted and unwanted items.
Pro Tip: Some advanced detectors offer “target ID” features that allow users to visually identify an object’s metal profile based on signal patterns.
Step 5: Apply Ground Balancing
Ground balancing is a critical configuration when searching in areas with high levels of natural minerals or salty soils. Such materials can interfere with your metal detector, causing it to misidentify objects or trigger false signals.
- Many modern detectors come with automatic ground balancing features. Simply turn on the “auto” mode, and the detector calibrates itself.
- For manual balancing, follow the instructions in your user manual. Typically, this involves adjusting the ground balance controls while swinging the coil over clear ground and listening to audio feedback until the interference subsides.
- In wet sand or heavily mineralized soil, retune your ground balance periodically as conditions can change.
Step 6: Swing Technique Matters
Improper swinging technique can significantly affect the quality of your search. Follow these best practices:
- Hold the search coil just above the ground, ensuring it stays parallel to the surface as you sweep.
- Sweep slowly and methodically in even arcs. Fast sweeping can miss signals or result in incomplete scans.
- Avoid lifting the search coil at the end of each swing. Consistent height increases detection accuracy.
Pro Tip: Use an overlapping sweep pattern, as this ensures complete ground coverage and helps you avoid leaving gaps.
Step 7: Optimize for Location
Different environments require slightly varied detector setups to achieve the best results. Here are key tips for popular detecting locations:
Beach Settings:
- Reduce sensitivity to counteract interference from salty, wet sand.
- Use discrimination to filter out junk metals common on beaches (e.g., bottle caps).
Woodland Settings:
- Increase sensitivity levels to detect items buried deeper in the soft or leaf-covered soil.
- Watch out for large tree roots that can impede digging.
Urban Locations:
- Lower sensitivity to avoid interference from man-made structures and electrical signals.
- Use a higher level of discrimination for areas with significant trash or debris.
Gold Prospecting:
- Many gold-detecting models include specialized settings. Use ground balancing religiously to counteract natural soil mineralization.
Step 8: Practice Makes Perfect
The key to truly mastering your metal detector is consistent practice. Take time to explore various terrains, experiment with settings, and understand your detector's audio tones or display readouts. The more experience you gain, the better you’ll be at identifying promising signals.
Troubleshooting Common Issues
Even seasoned metal detectorists encounter challenges. Here are tips to address common problems:
1. False Signals:
- Reduce sensitivity or recalibrate ground balancing settings.
- Check for loose connections between the coil and control box.
2. Interference:
- Identify potential electromagnetic sources nearby (e.g., power lines or Wi-Fi routers) and relocate your search area.
3. Low Depth Detection:
- Increase sensitivity slightly and ensure the coil is held close to the surface.
- Consider upgrading to a larger search coil for deeper scanning.
Conclusion: Refine and Enjoy Your Metal Detecting Experience
Setting up a metal detector is a straightforward process that requires attention to detail, practice, and an understanding of your specific device’s capabilities. By properly assembling, configuring, and optimizing your detector’s settings, you can ensure it performs at its peak in any scenario.
Remember, success in metal detecting isn’t just about the equipment—it’s also about skill, patience, and persistence. As you refine your techniques and build confidence, you’ll unlock the full potential of your metal detector and enjoy the excitement of uncovering hidden treasures beneath your feet. Whether you’re searching for historical artifacts, coins, or precious metals, the knowledge and setup strategies detailed above will position you for success.
Now grab your metal detector, head to your chosen location, and uncover the secrets both history and nature have buried in the ground! Happy hunting!


")
 Lens to Canon RF Mount Camera High Precision Lens Adapter, QBM-EOS R")


